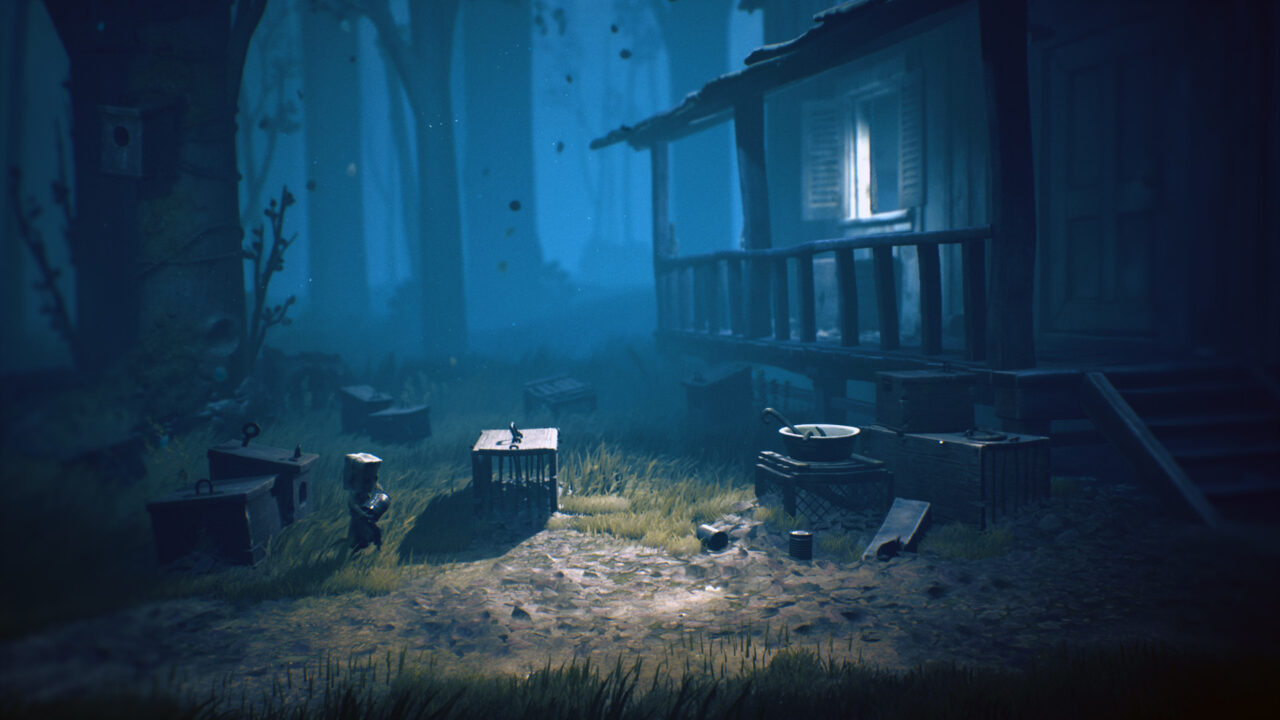
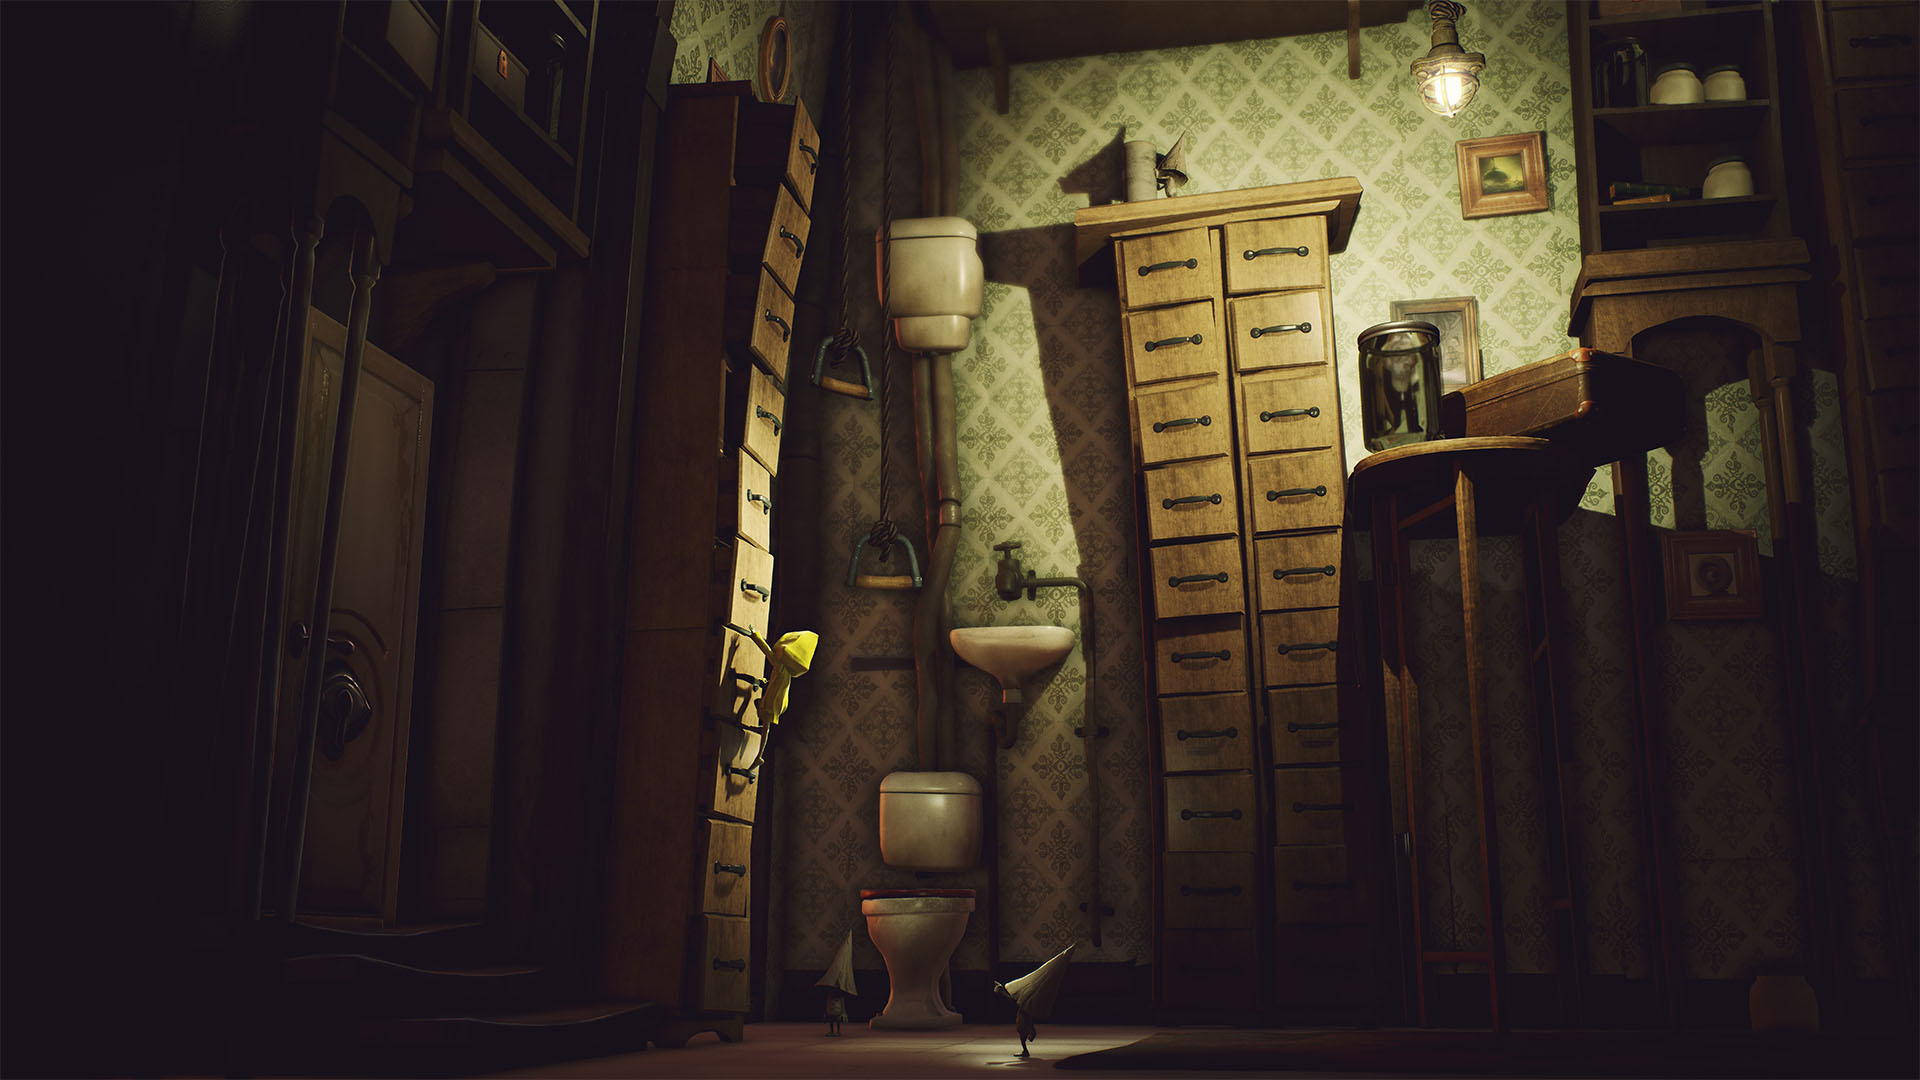
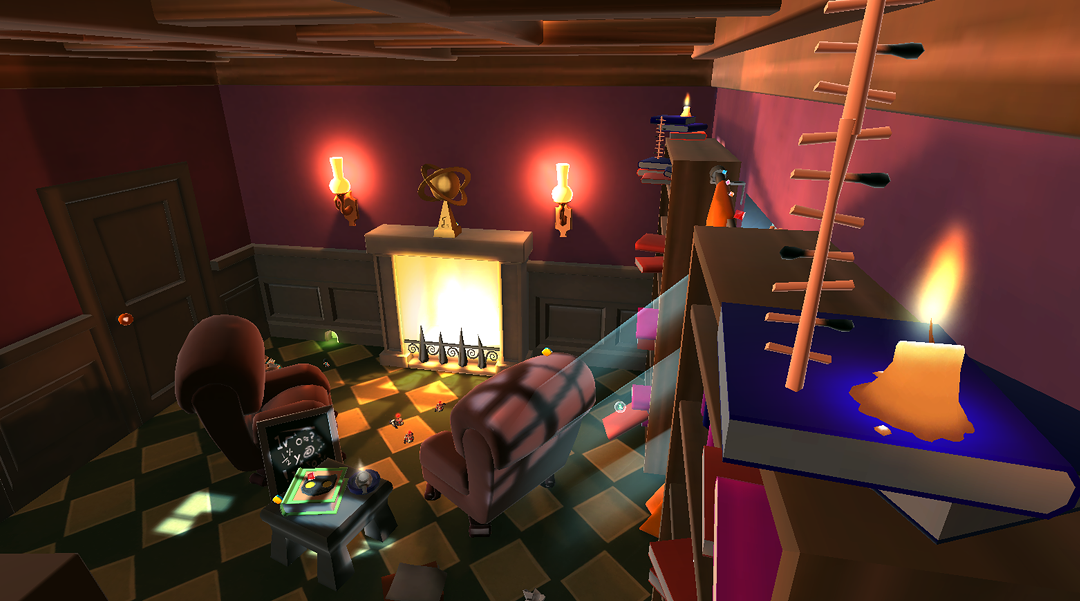
 Little Nightmares II
2021 / Game Director
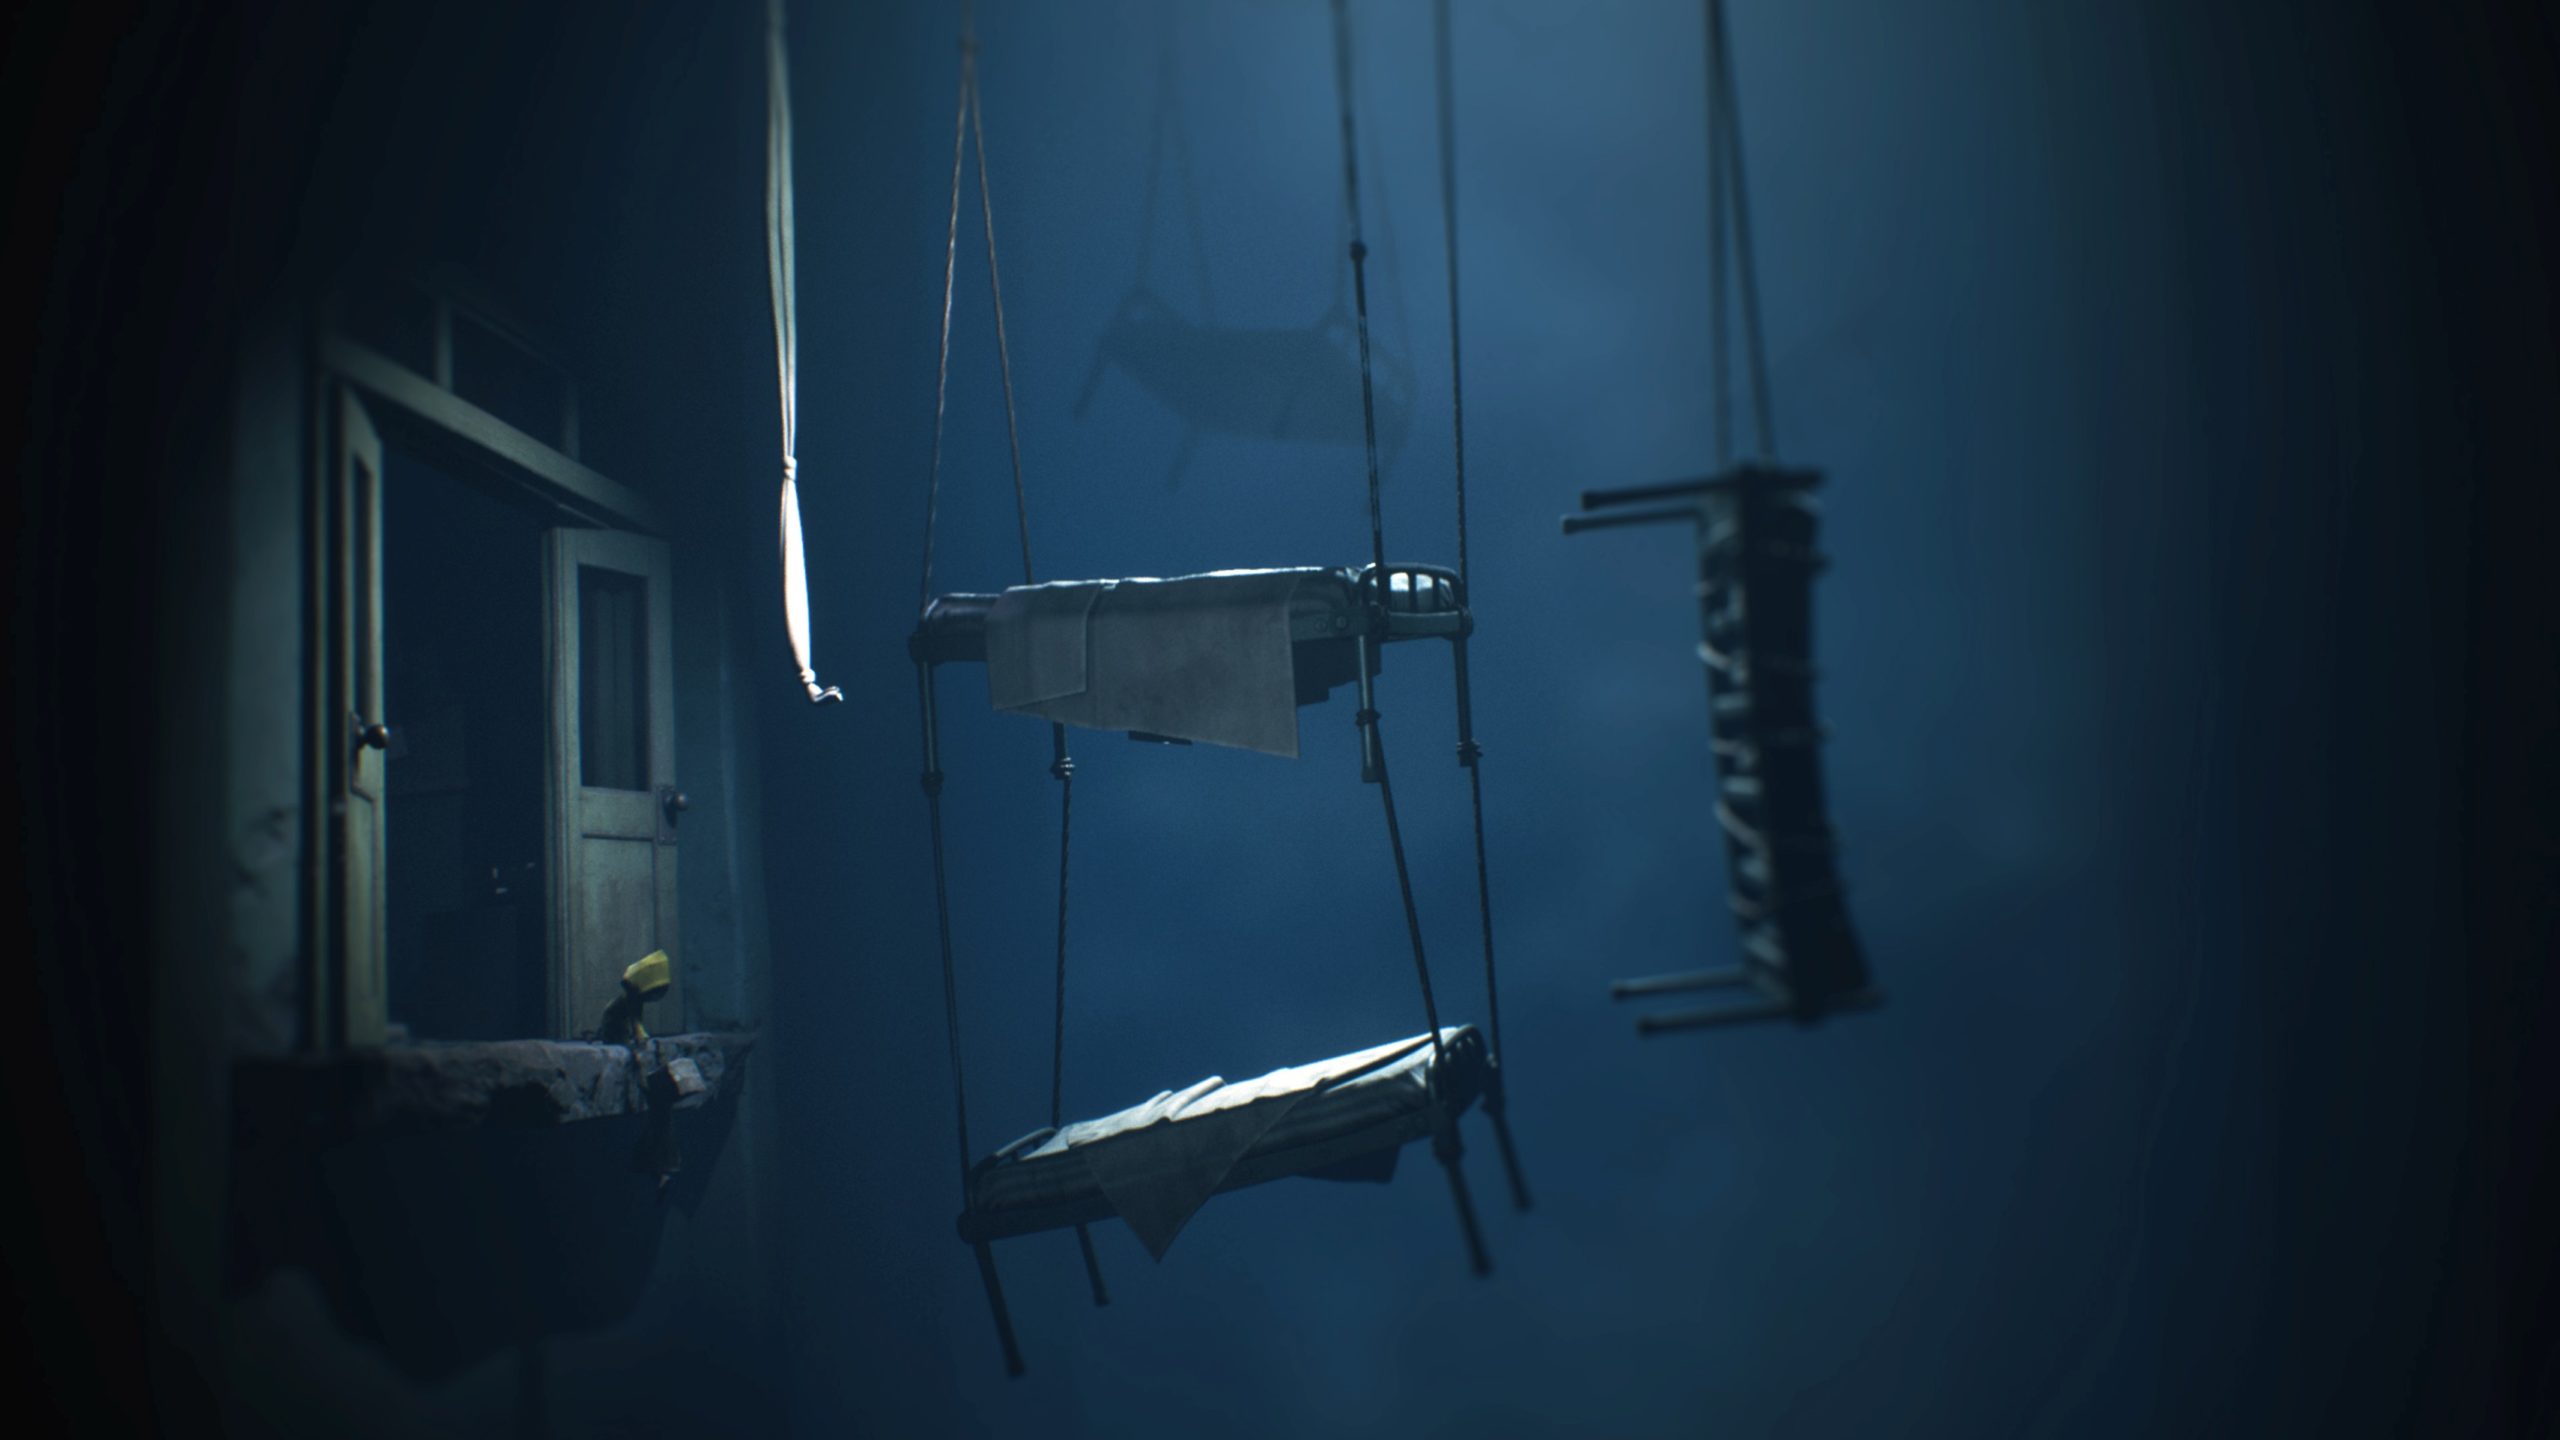
 Little Nightmares II
2021 / Game Director
 Little Nightmares II
2021 / Game Director
 Little Nightmares II
2021 / Game Director
 Little Nightmares II
2021 / Game Director
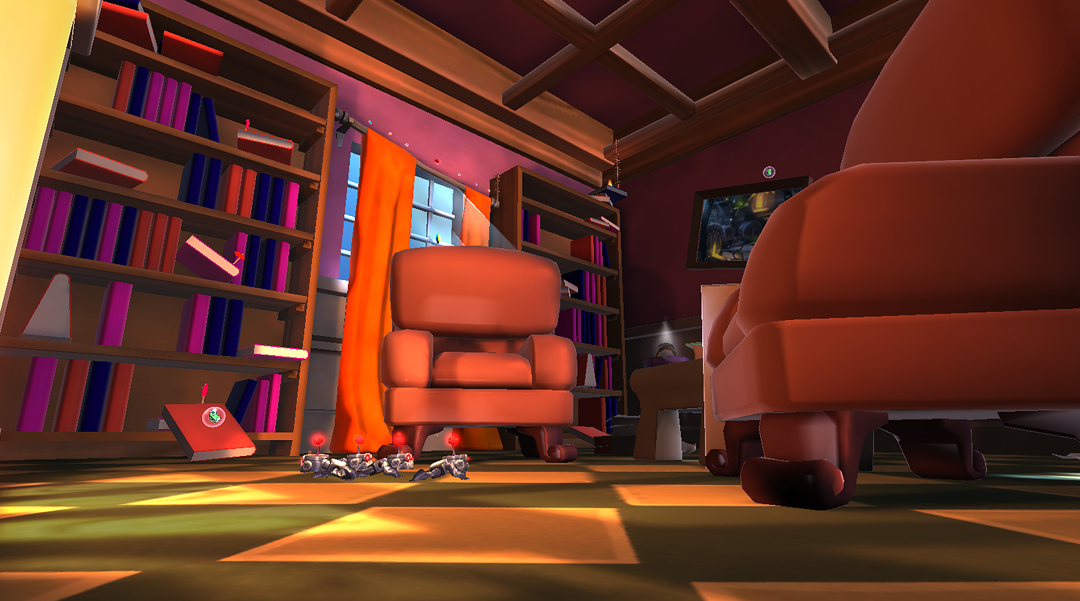
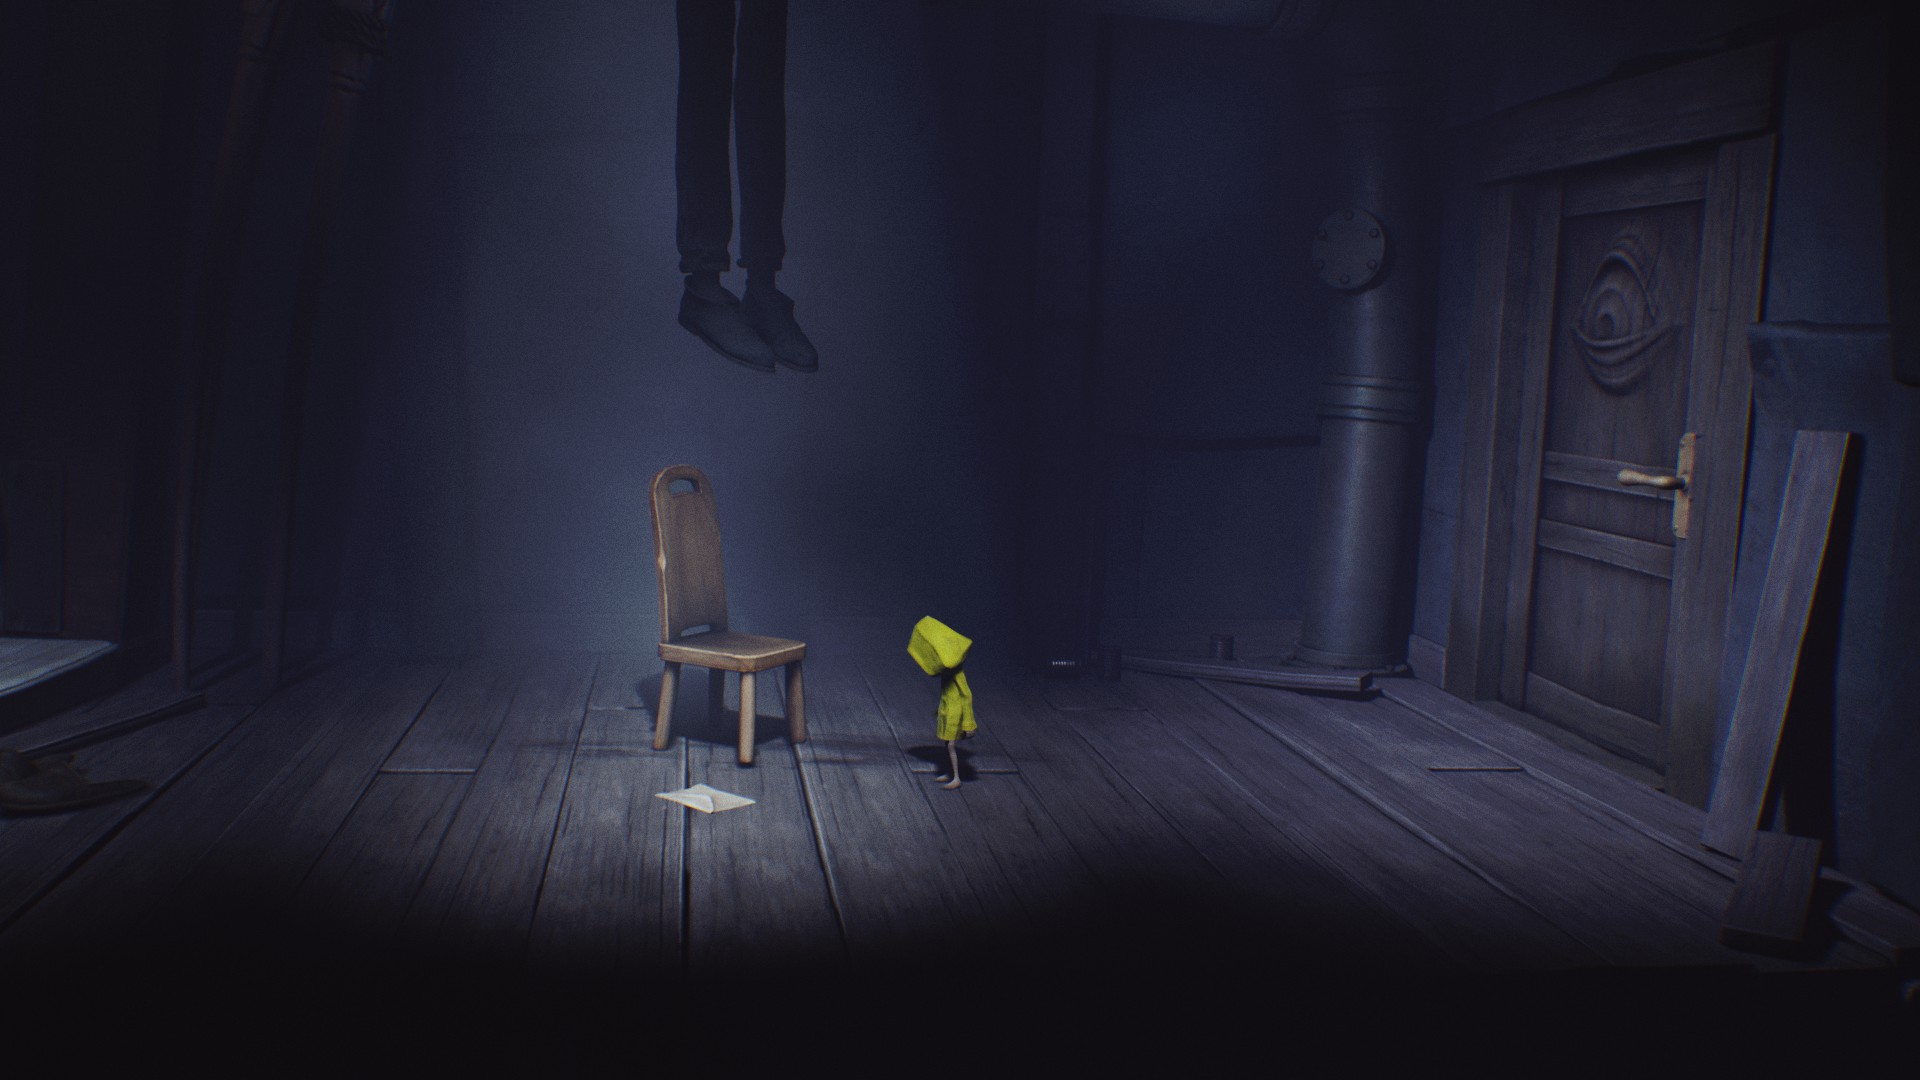 Little Nightmares
2017 / Level Design
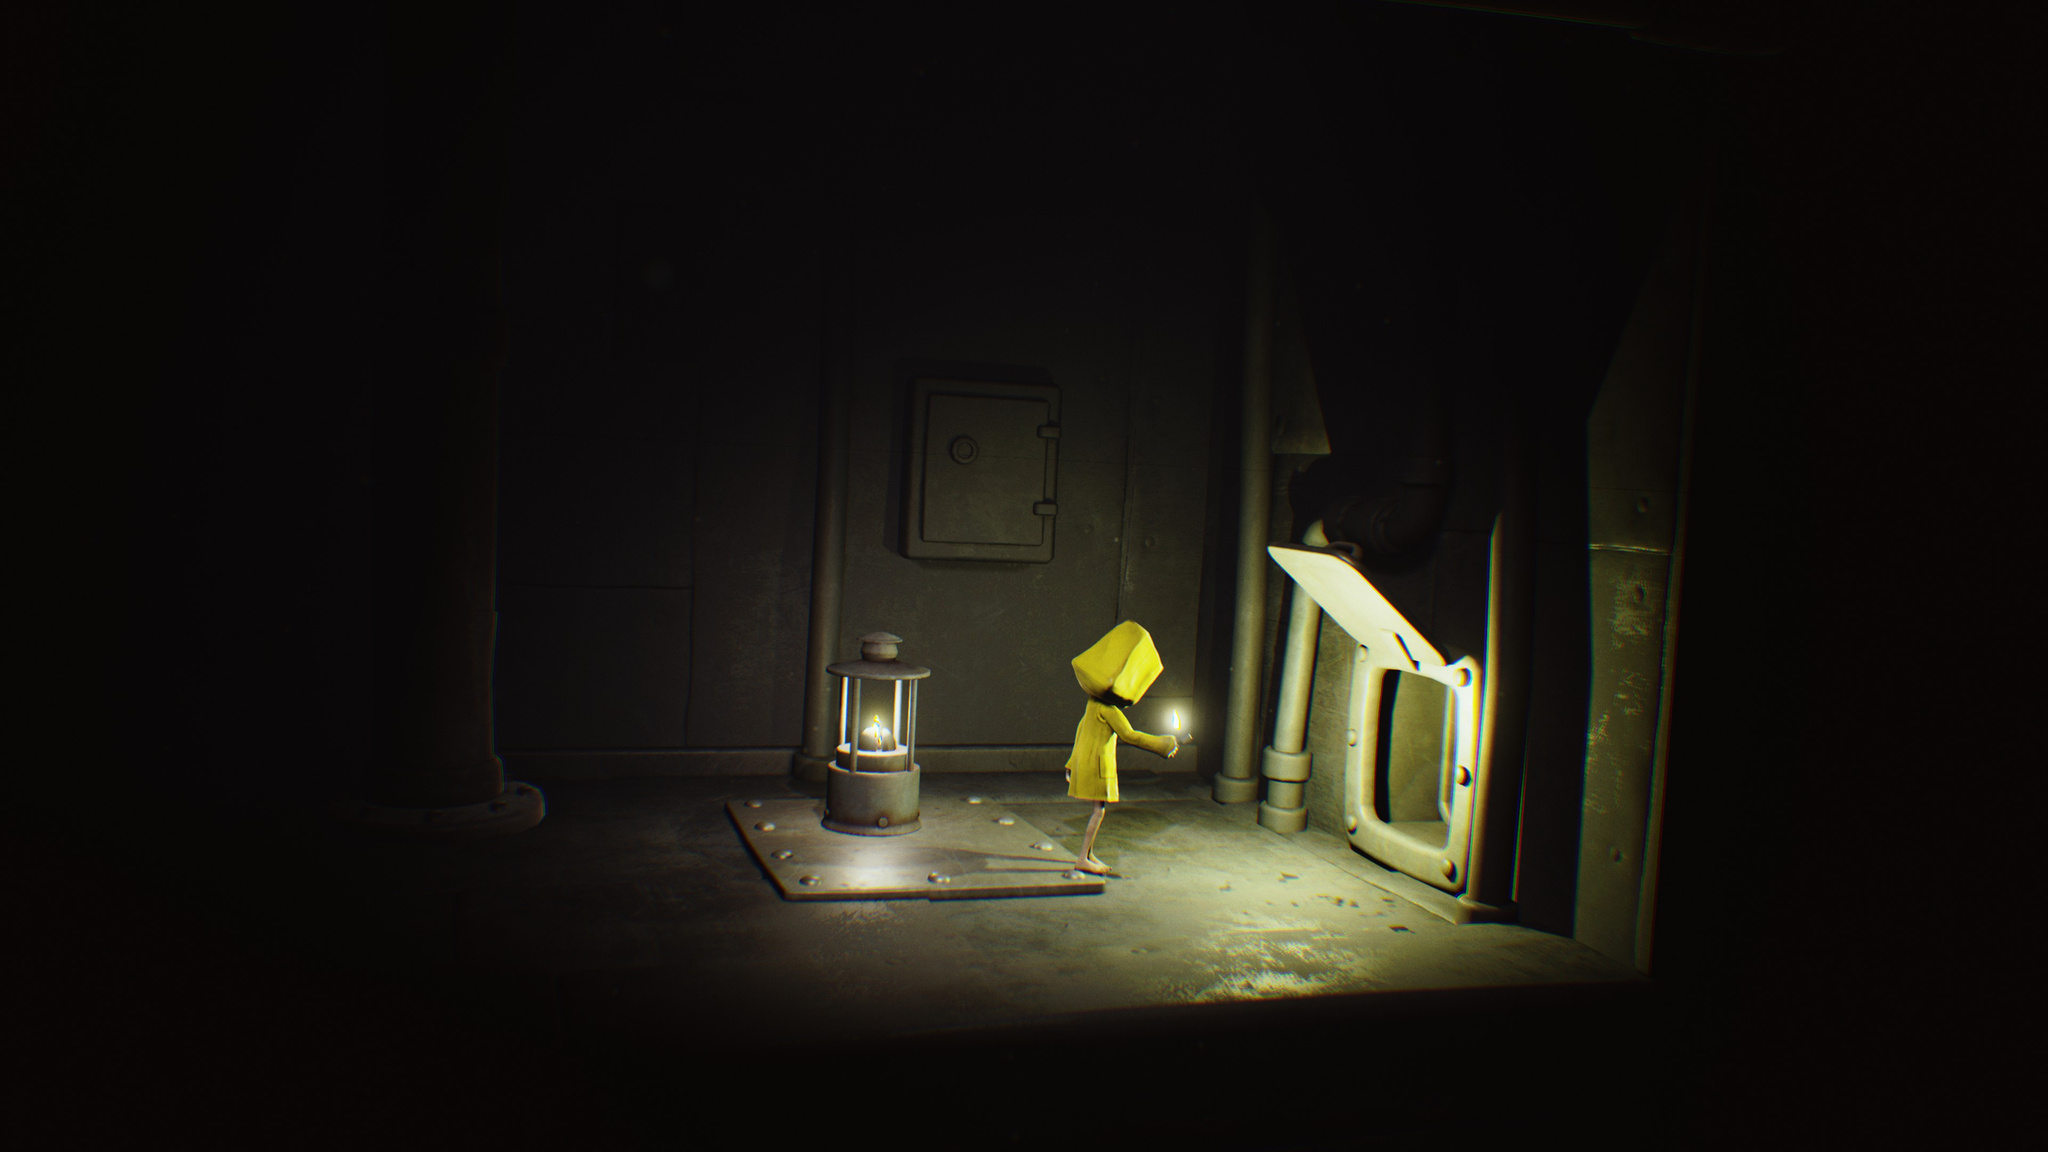 Little Nightmares
2017 / Level Design
 Little Nightmares
2017 / Level Design
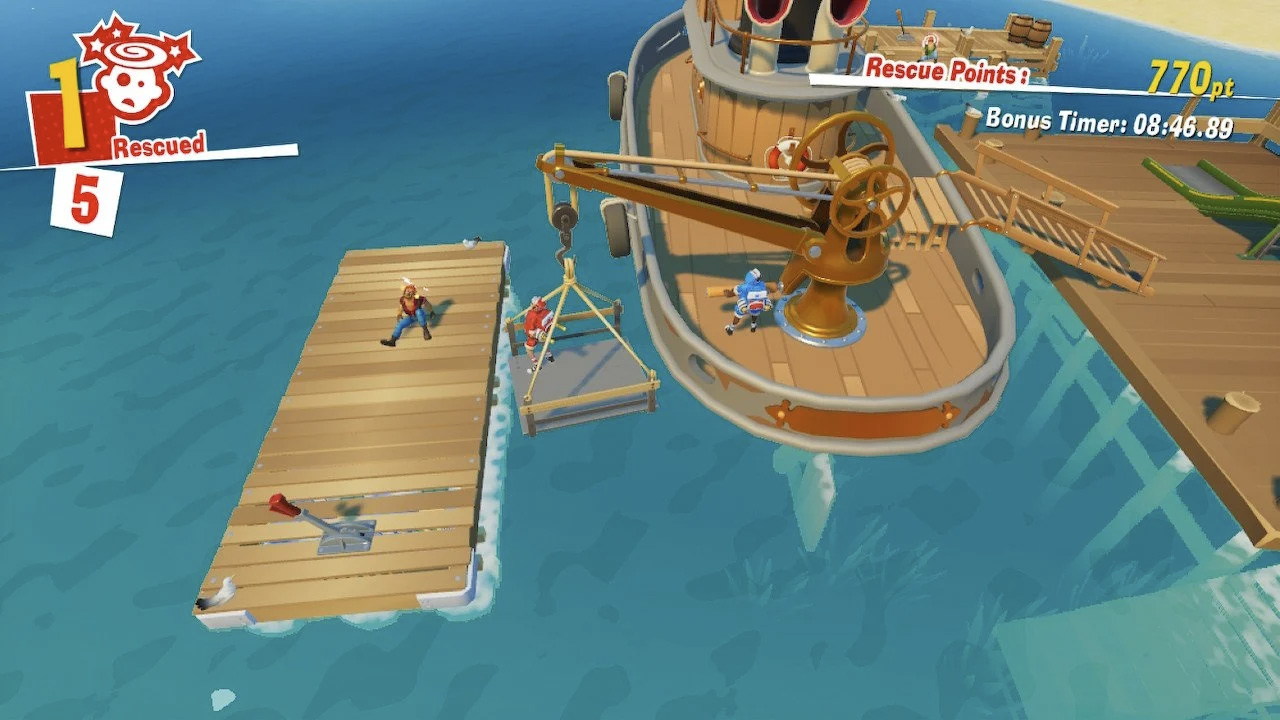
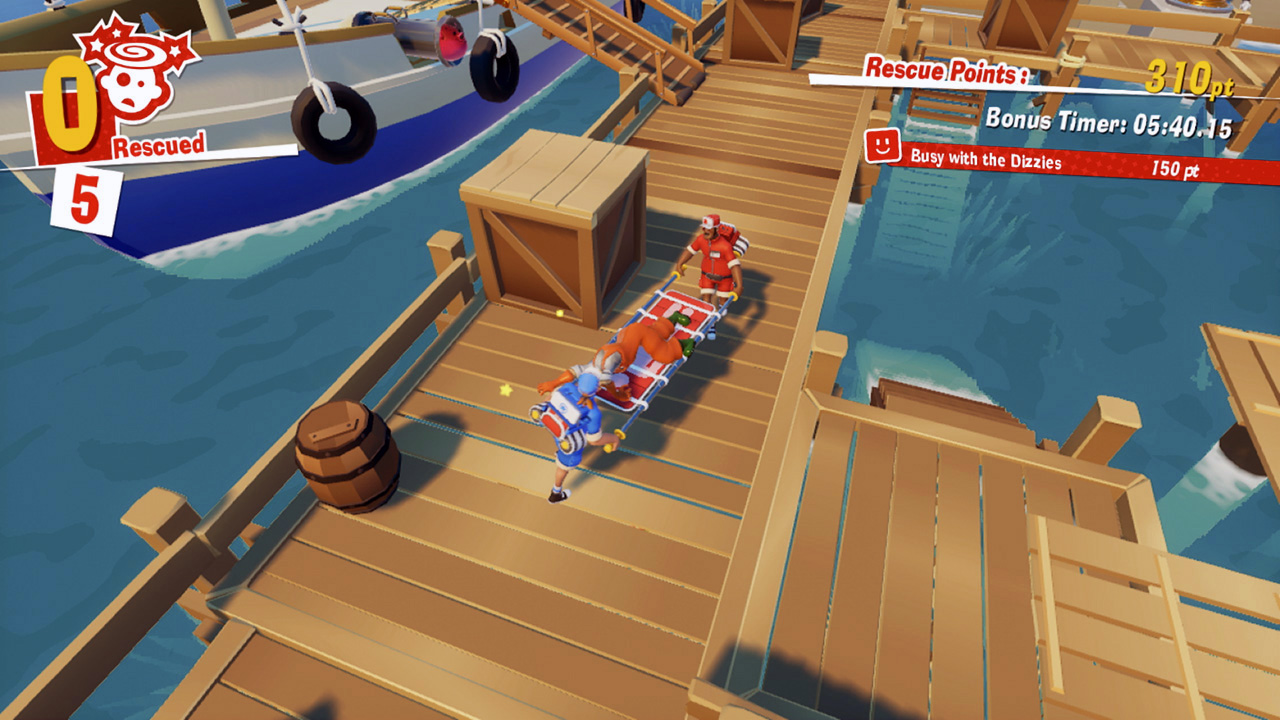 The Stretchers
2019 / Game Director
 The Stretchers
2019 / Game Director
 The Stretchers
2019 / Game Director
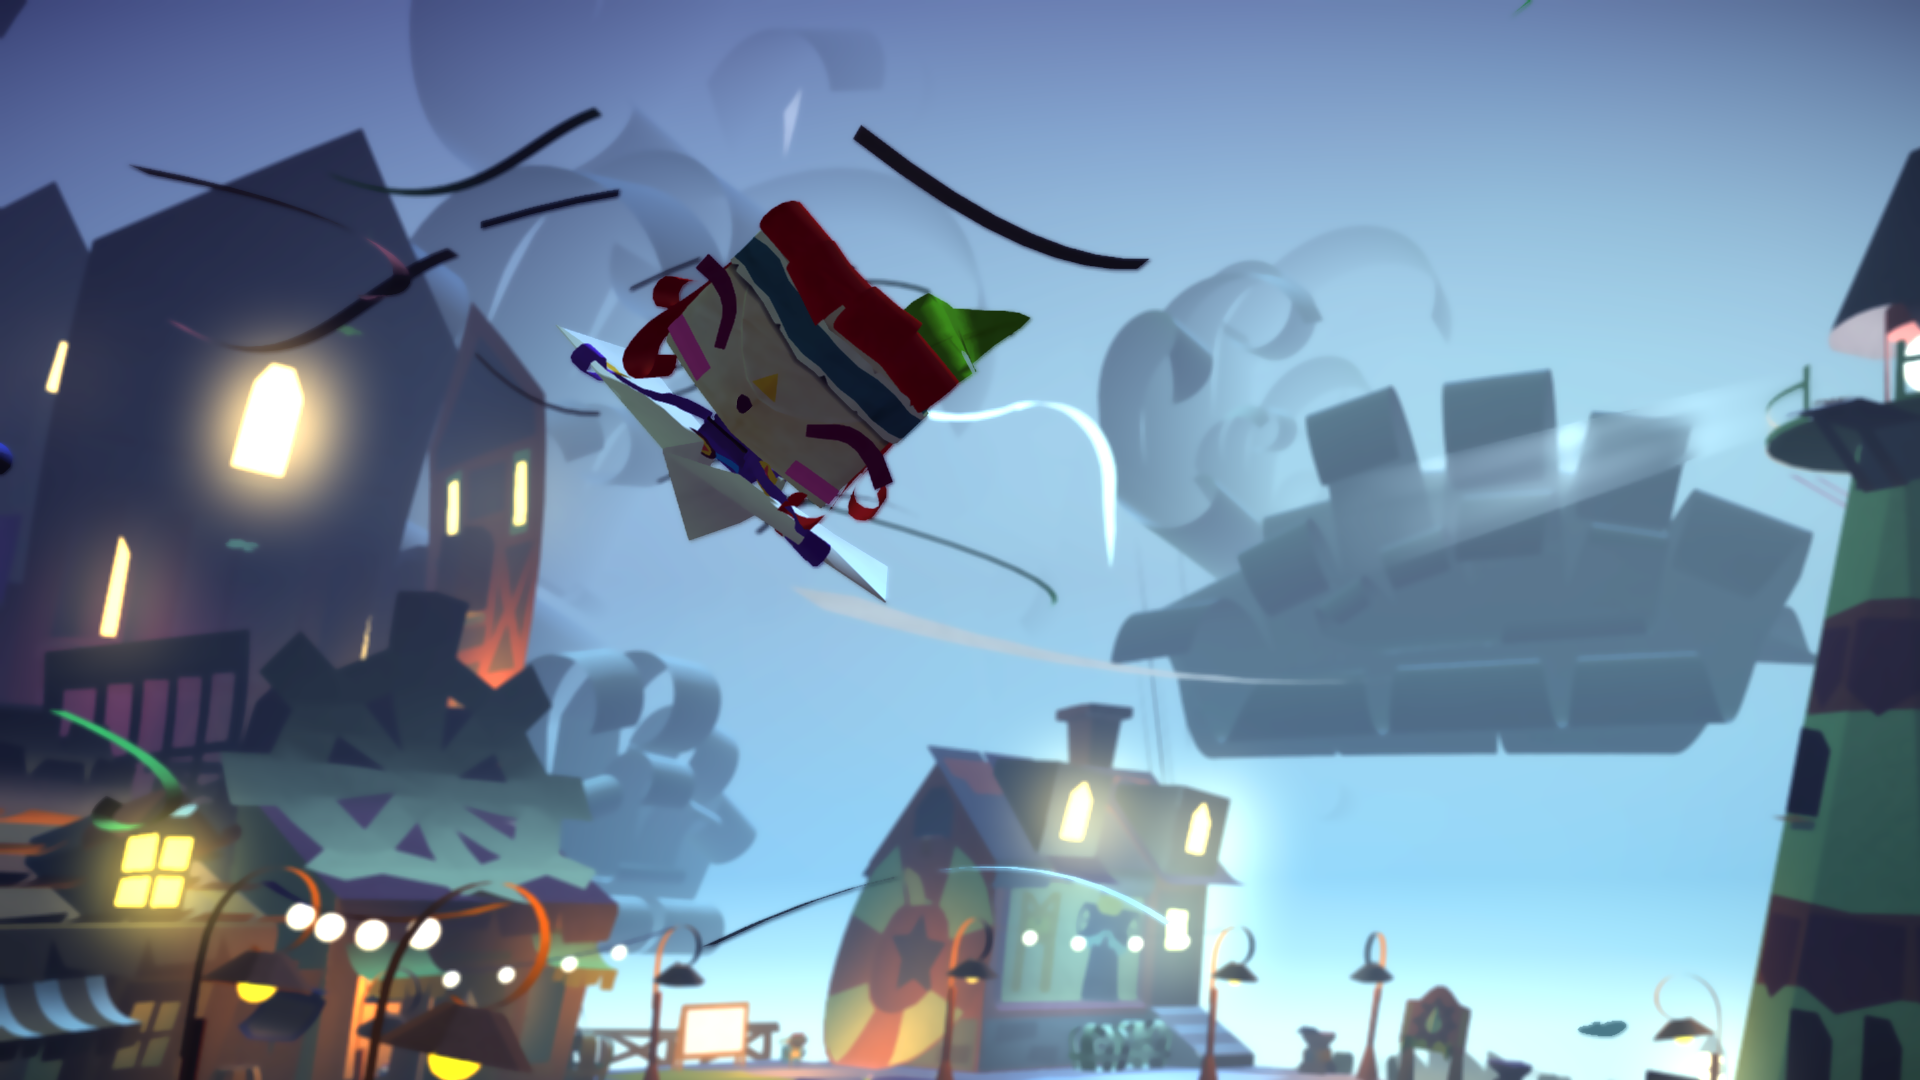
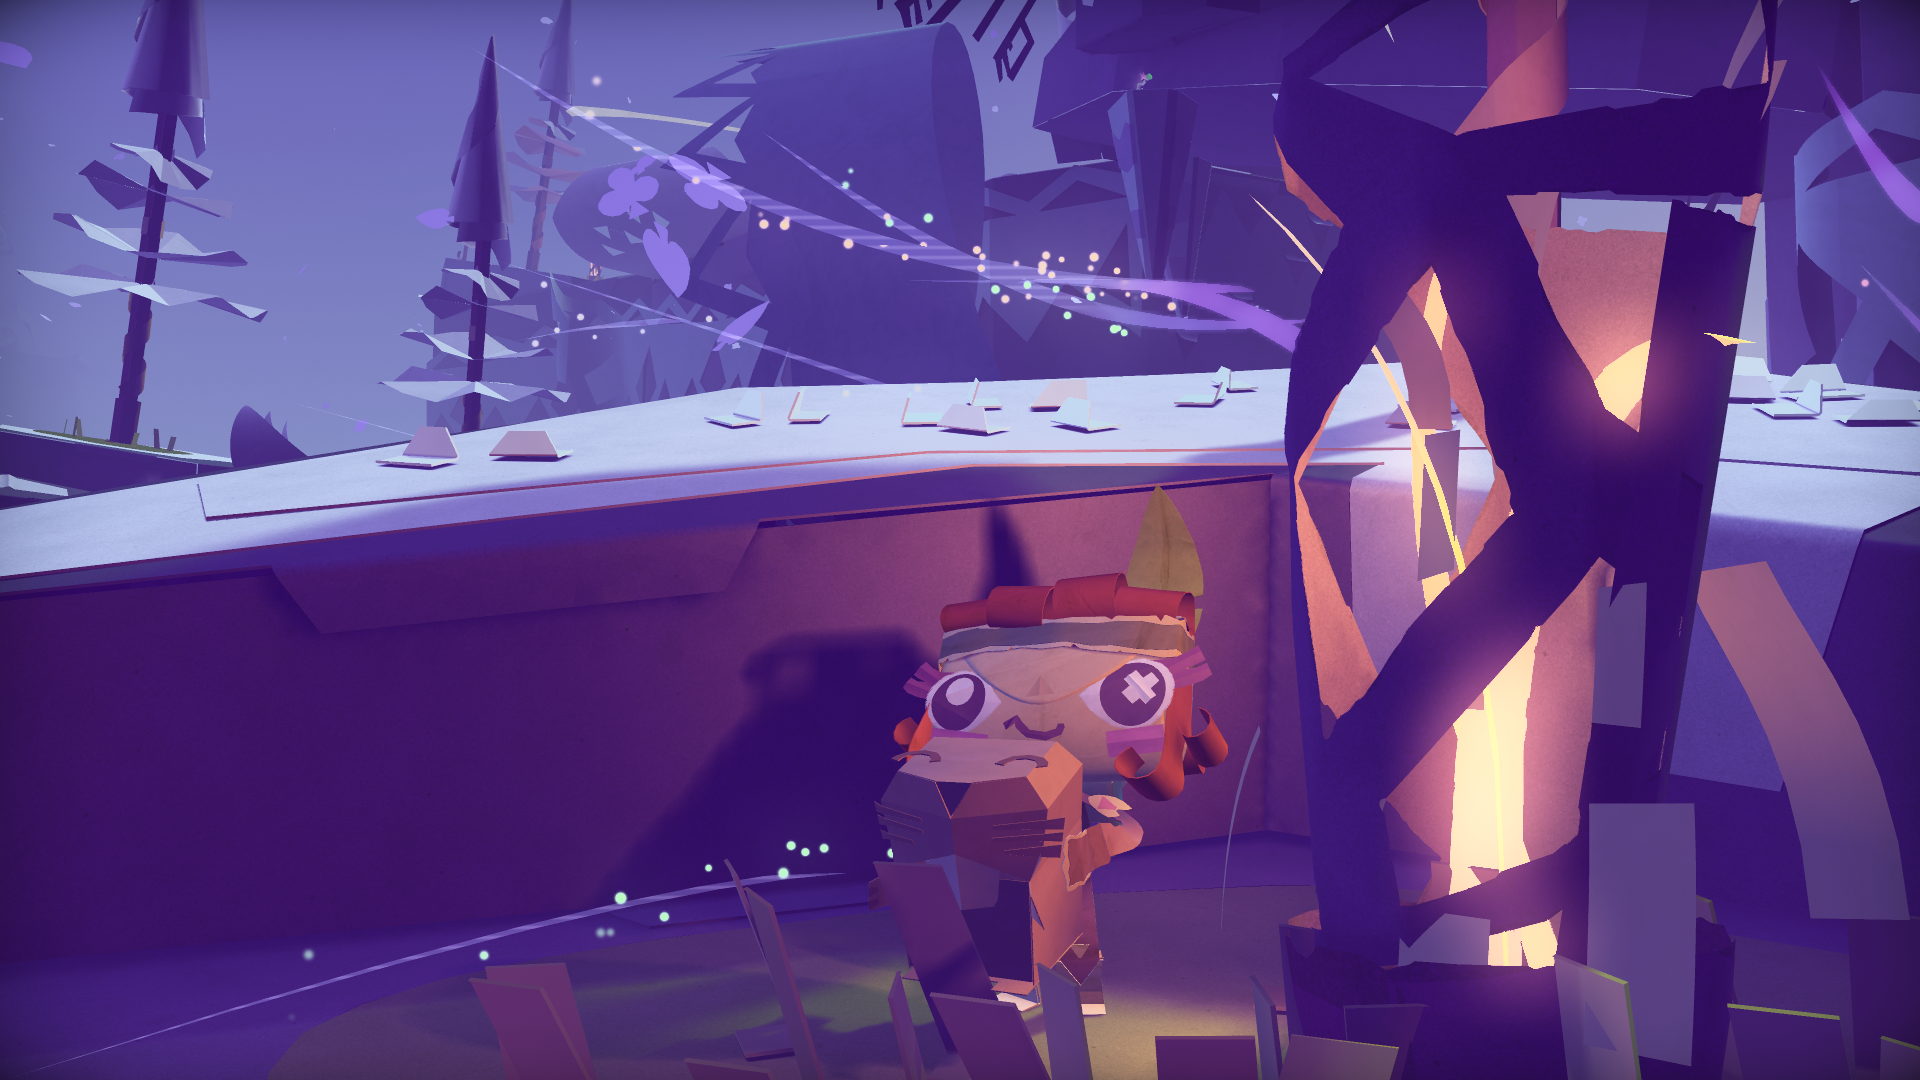
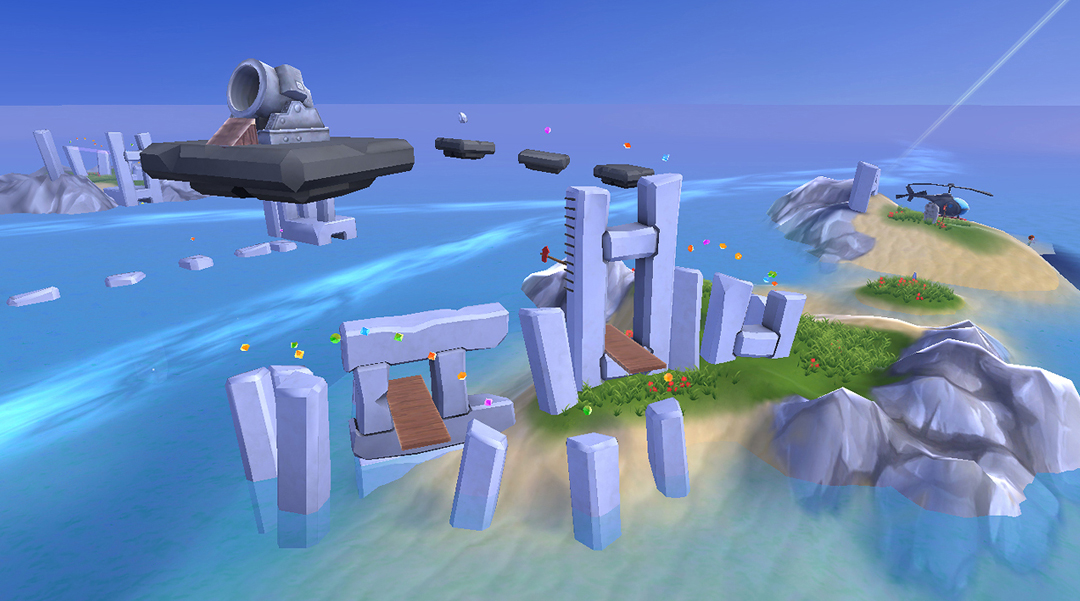
 Tearaway Unfolded
2015 / Level Design
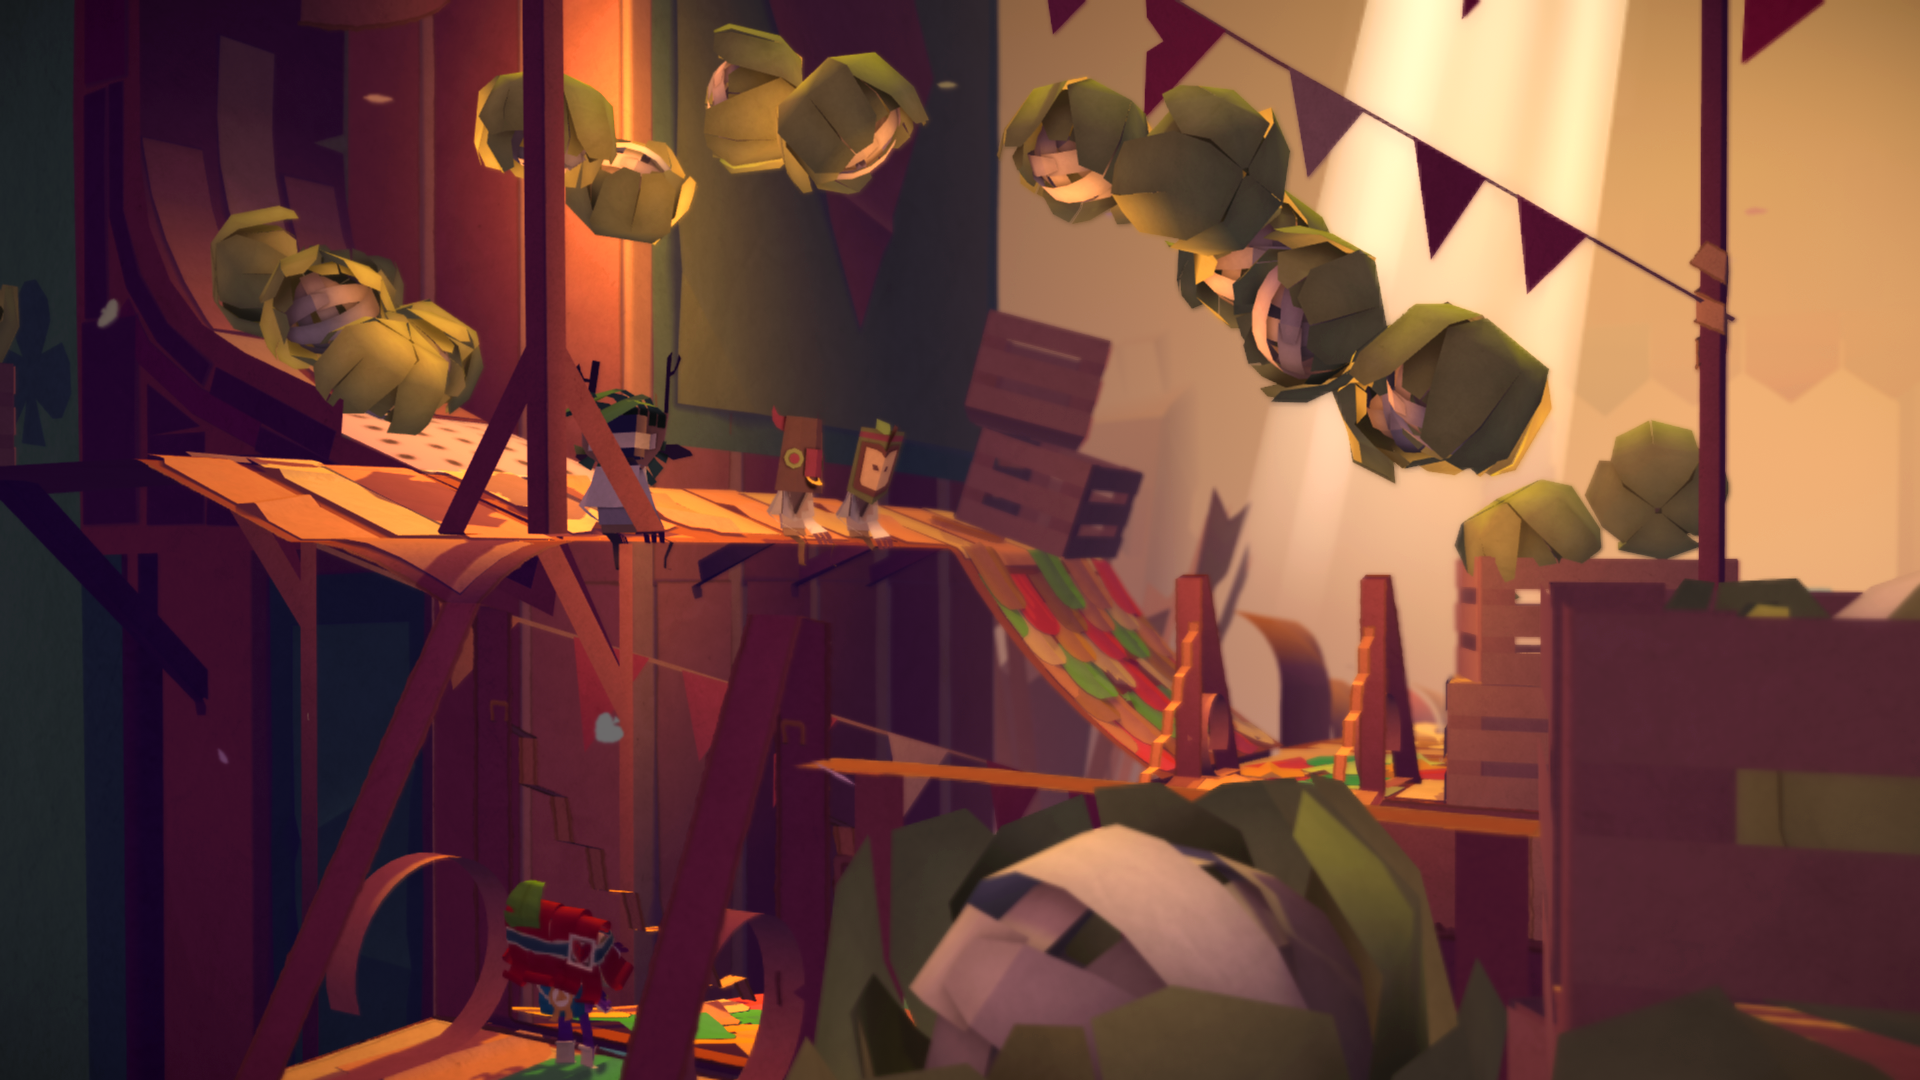
 Tearaway Unfolded
2015 / Level Design
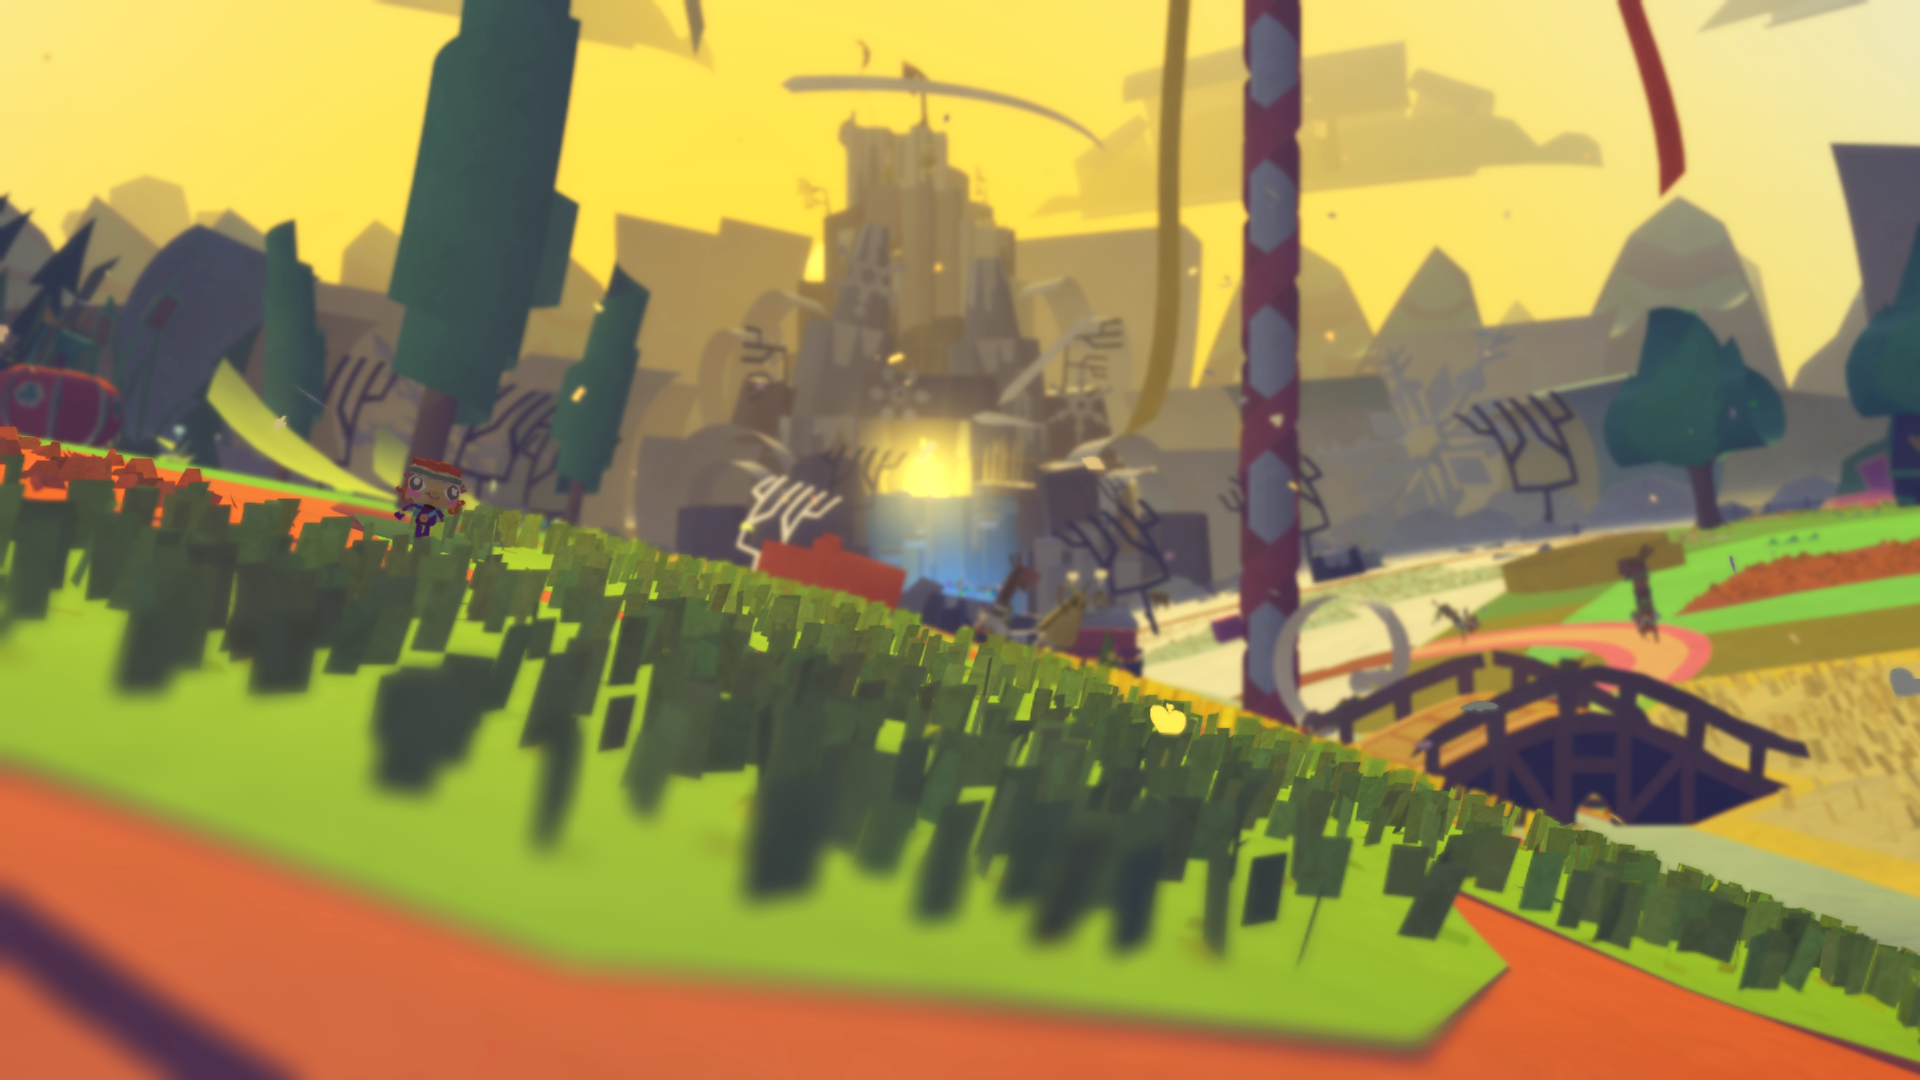
 Tearaway Unfolded
2015 / Level Design
 Tearaway Unfolded
2015 / Level Design
 Tearaway Unfolded
2015 / Level Design
 Tearaway Unfolded
2015 / Level Design
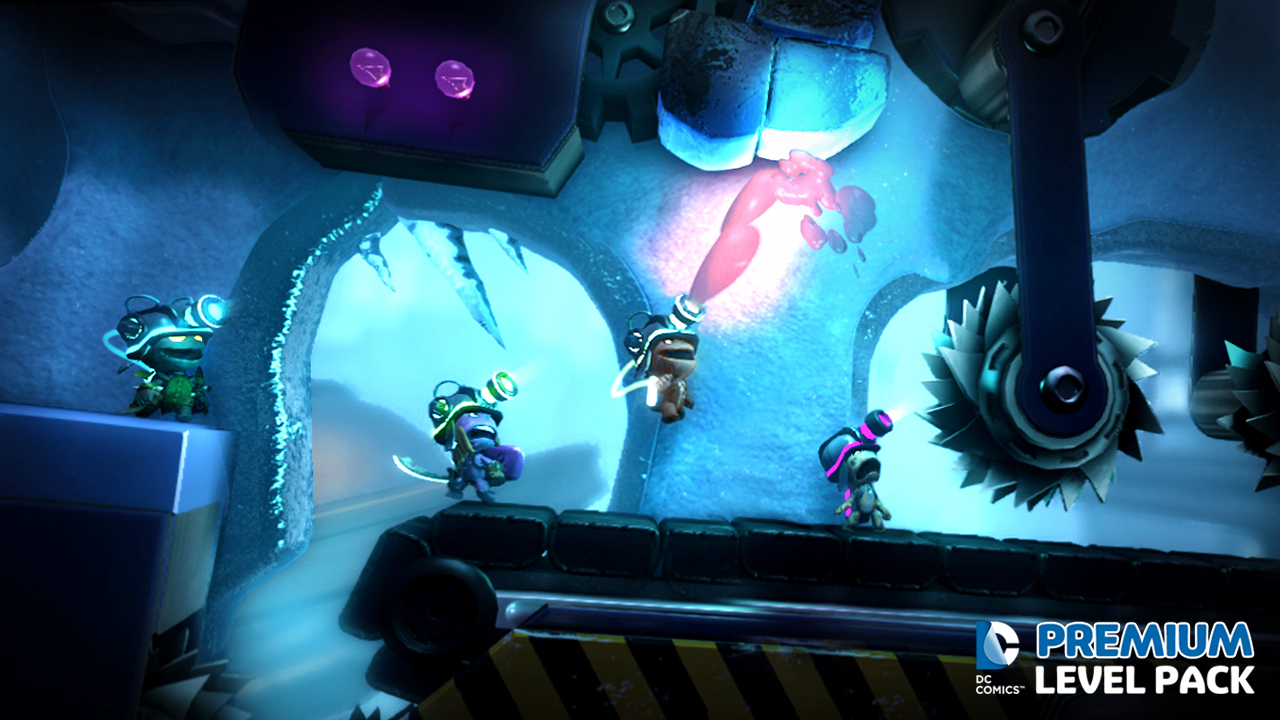
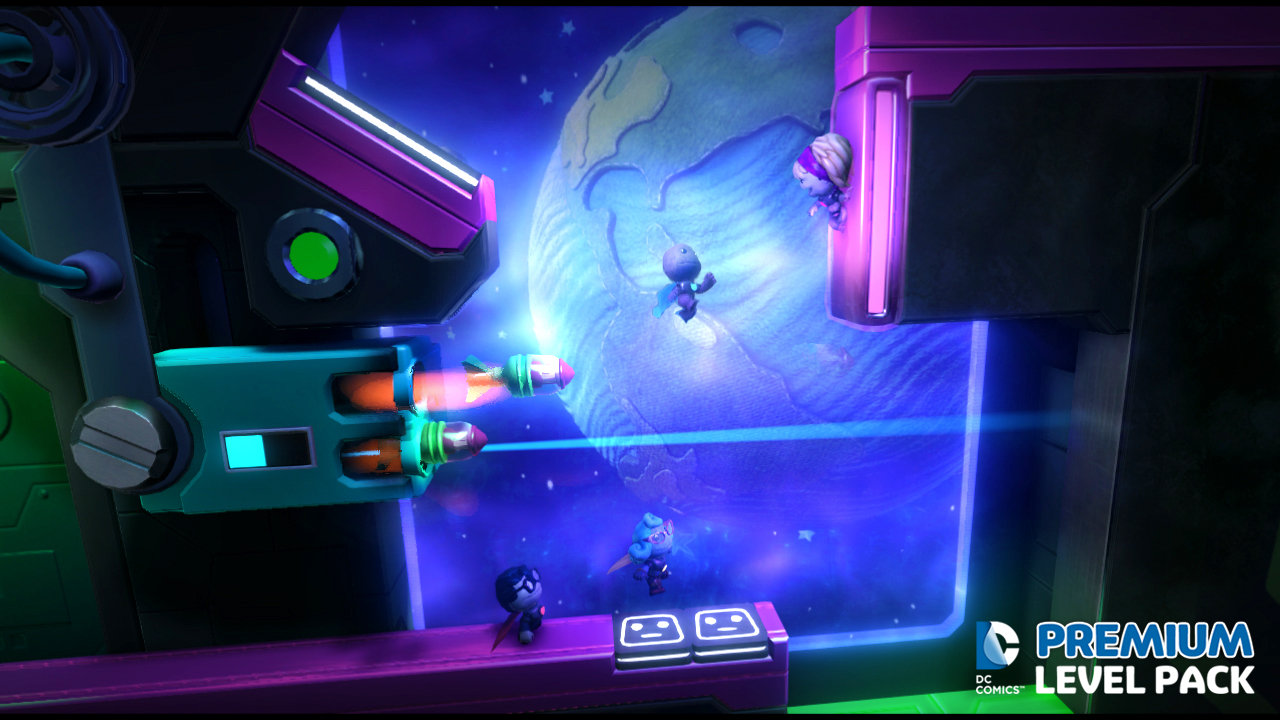
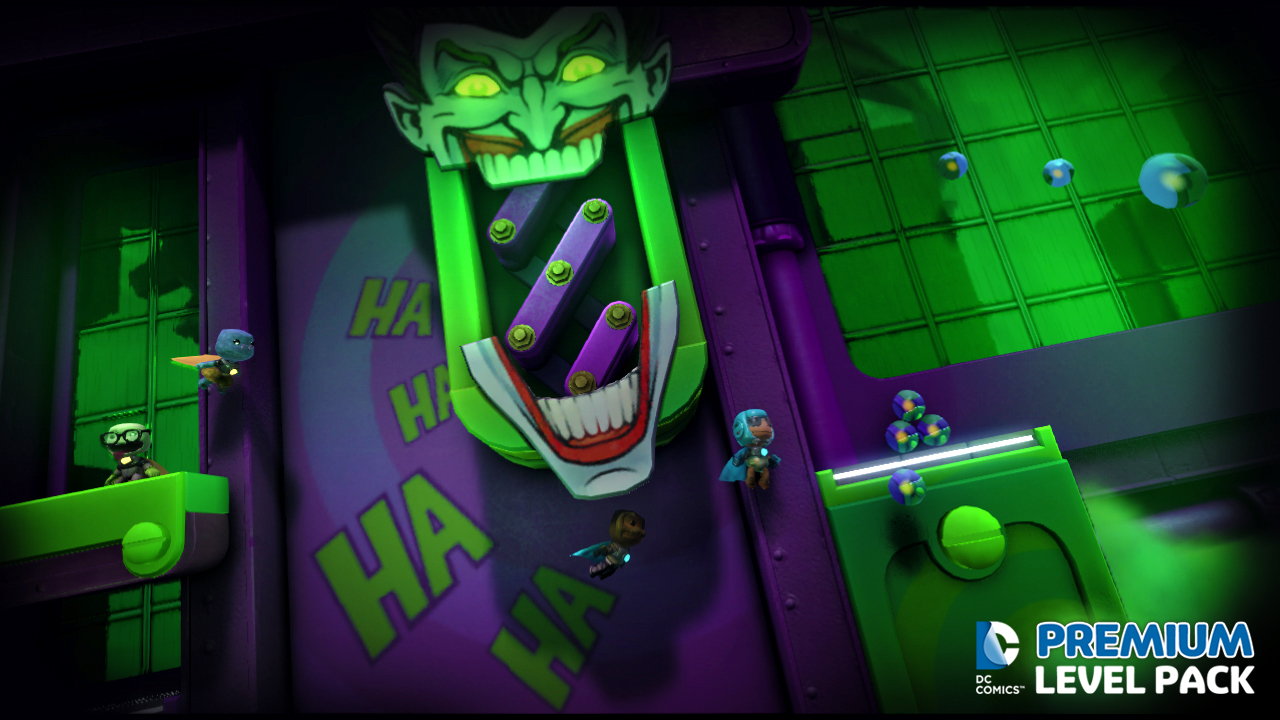 LittleBigPlanet 2 DC Comics Premium Level Pack
2013 / Level Design
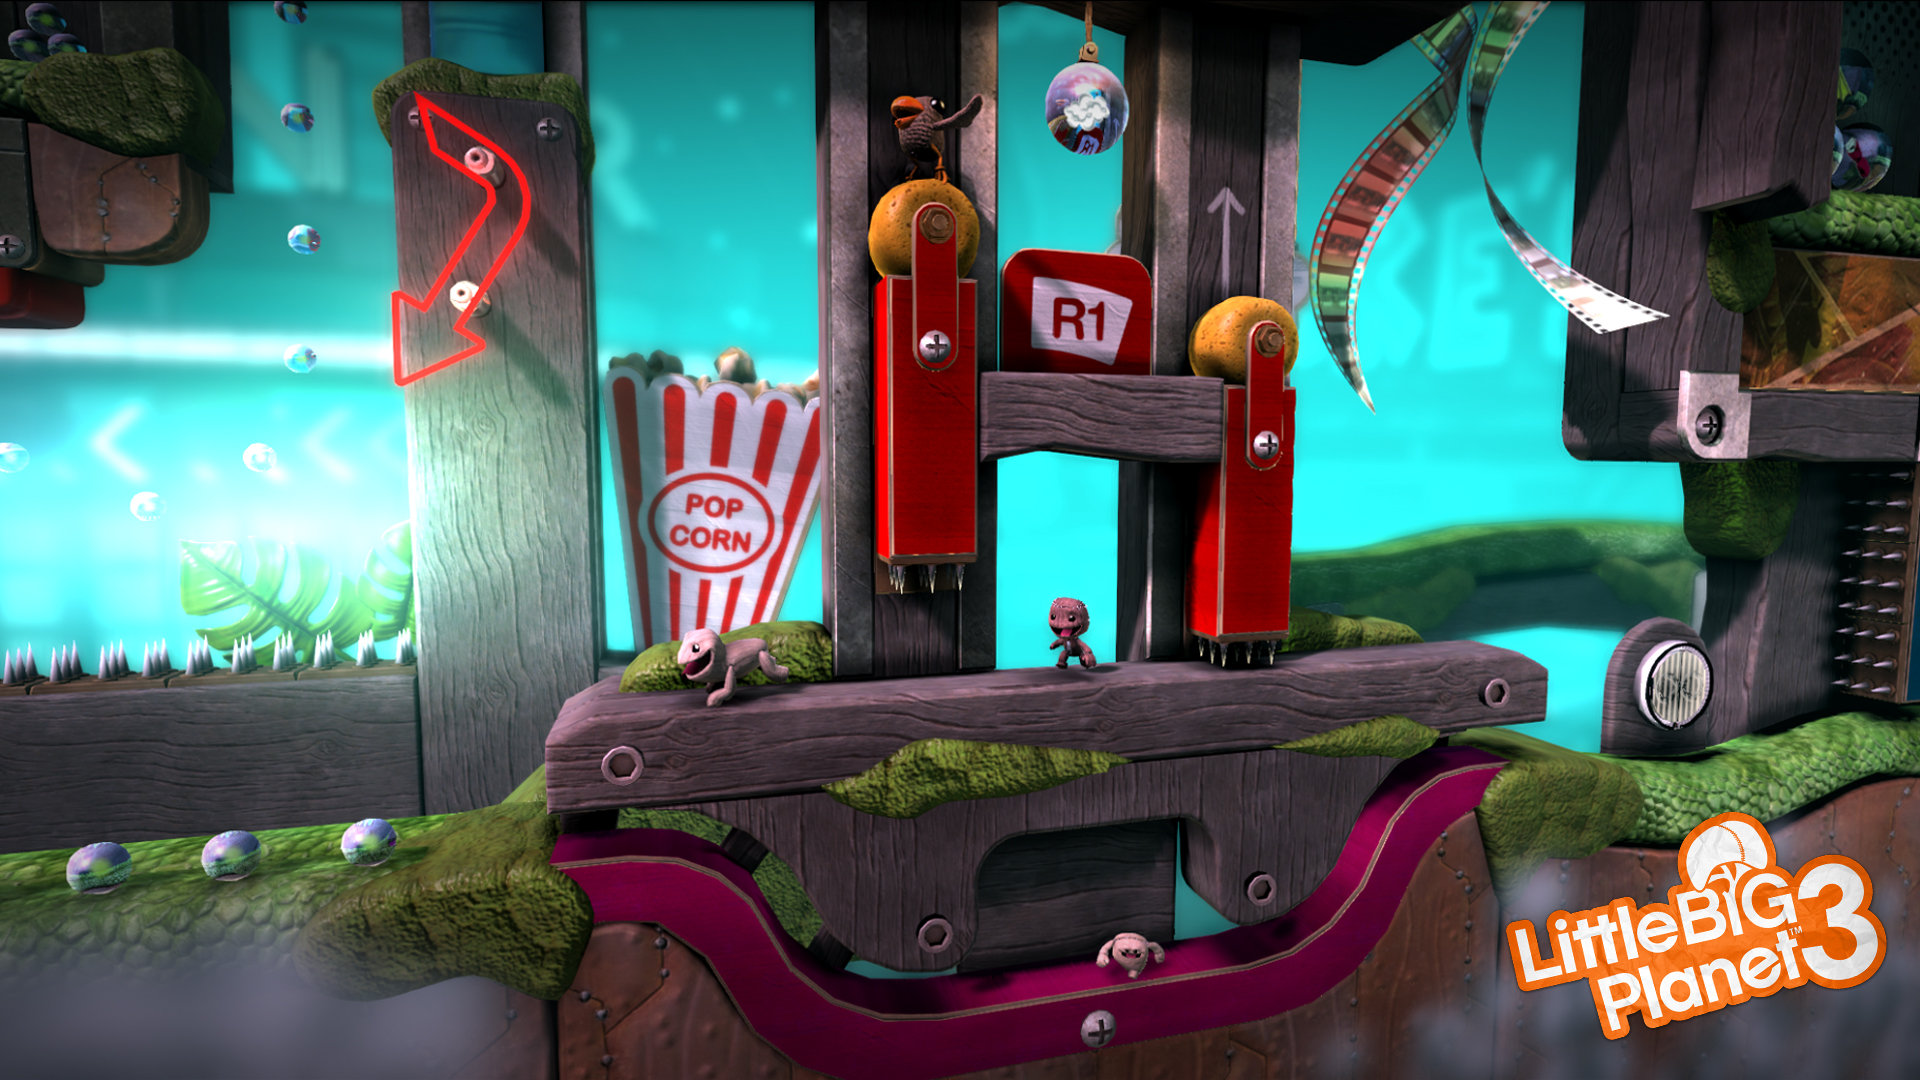
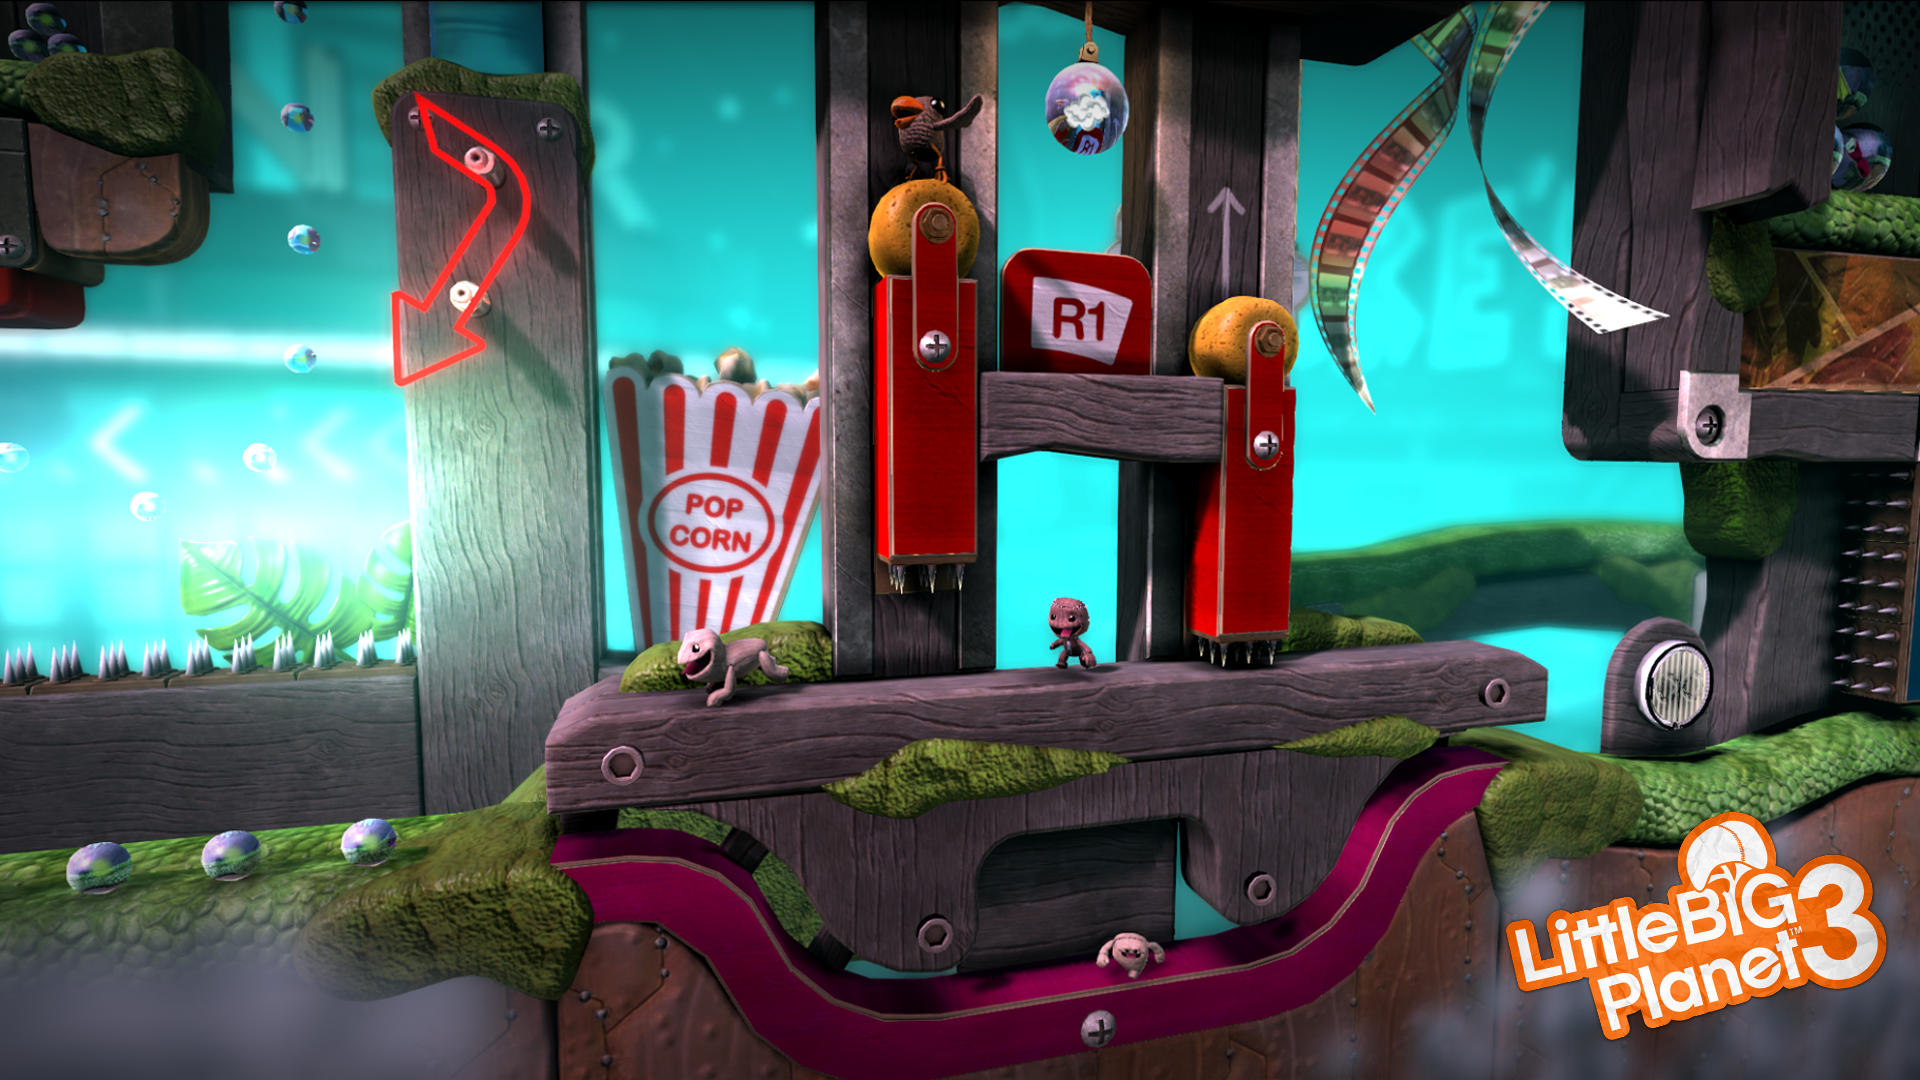
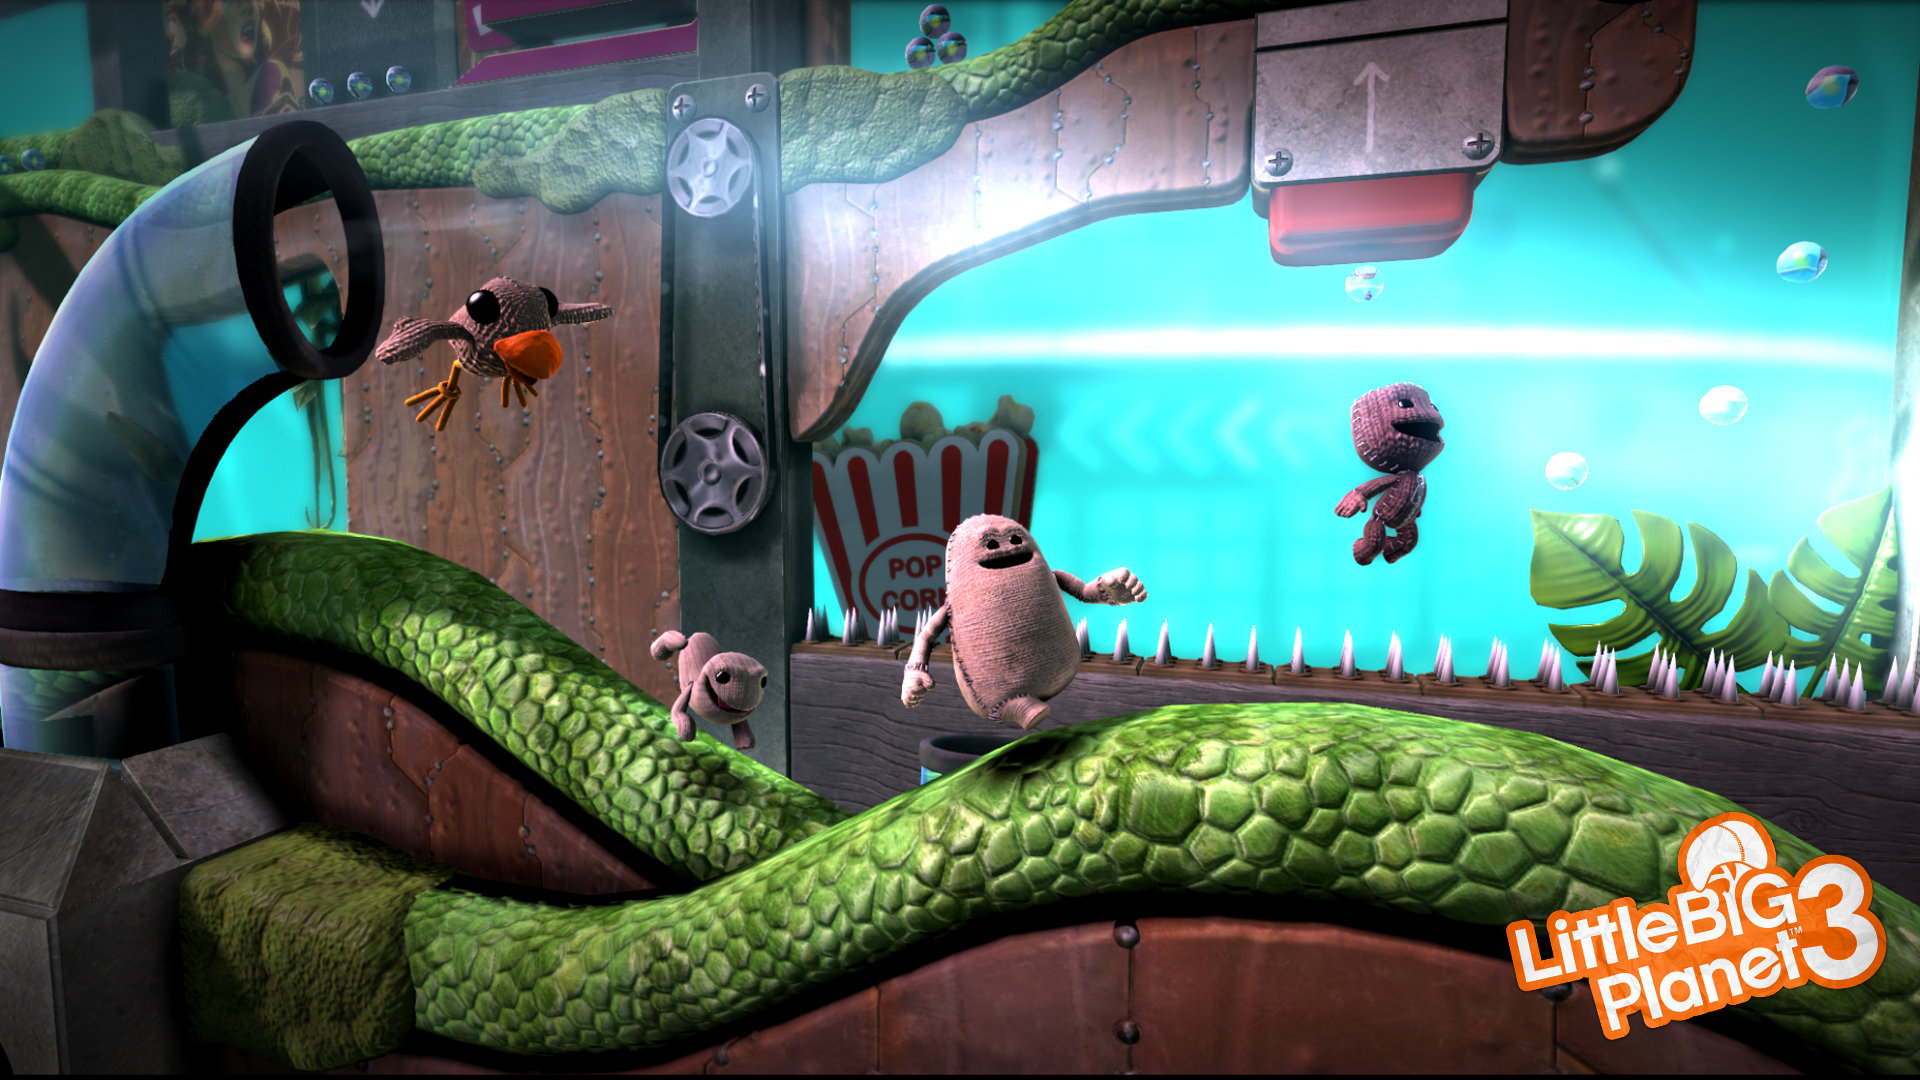 LittleBigPlanet 3
2014 / Level Design
 LittleBigPlanet3
2014 / Level Design
 LittleBigPlanet 2 DC Comics Premium Level Pack
2013 / Level Design
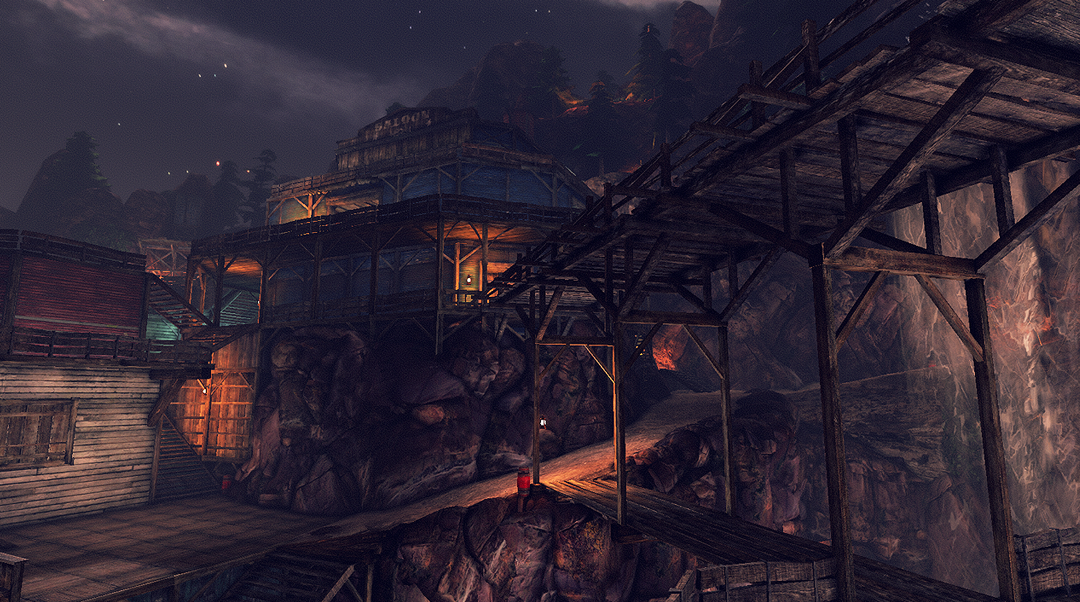
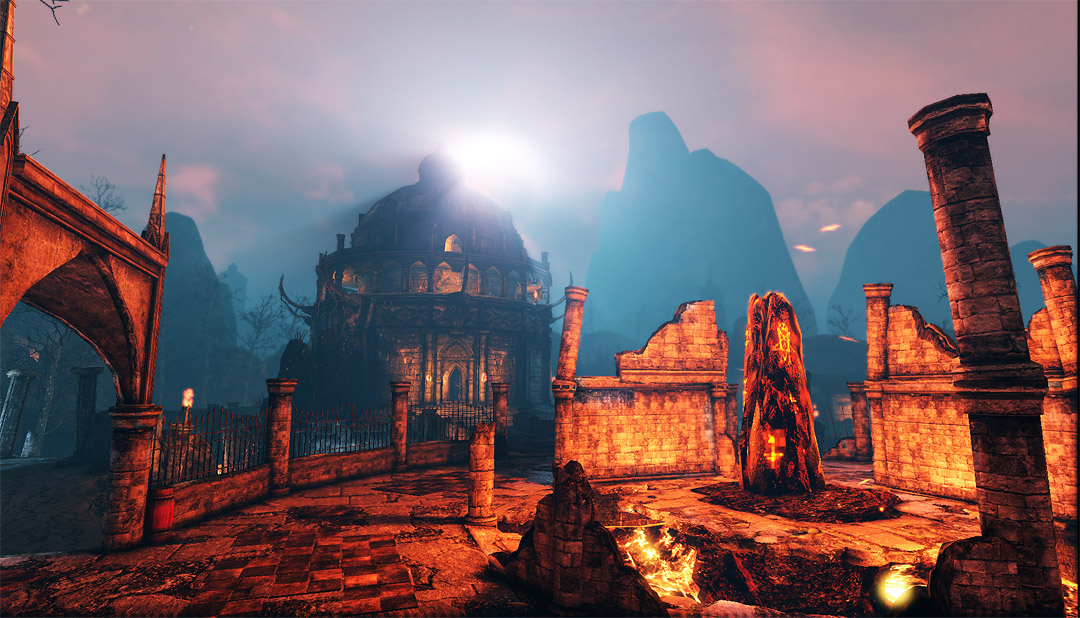 The Haunted: Hell's Reach
2011 / Level Design, Environment Art, Lighting, Post & VFX
 LittleBigPlanet 2 DC Comics Premium Level Pack
2013 / Level Design
 LittleBigPlanet 2 DC Comics Premium Level Pack
2013 / Level Design
 LittleBigPlanet 2 DC Comics Premium Level Pack
2013 / Level Design
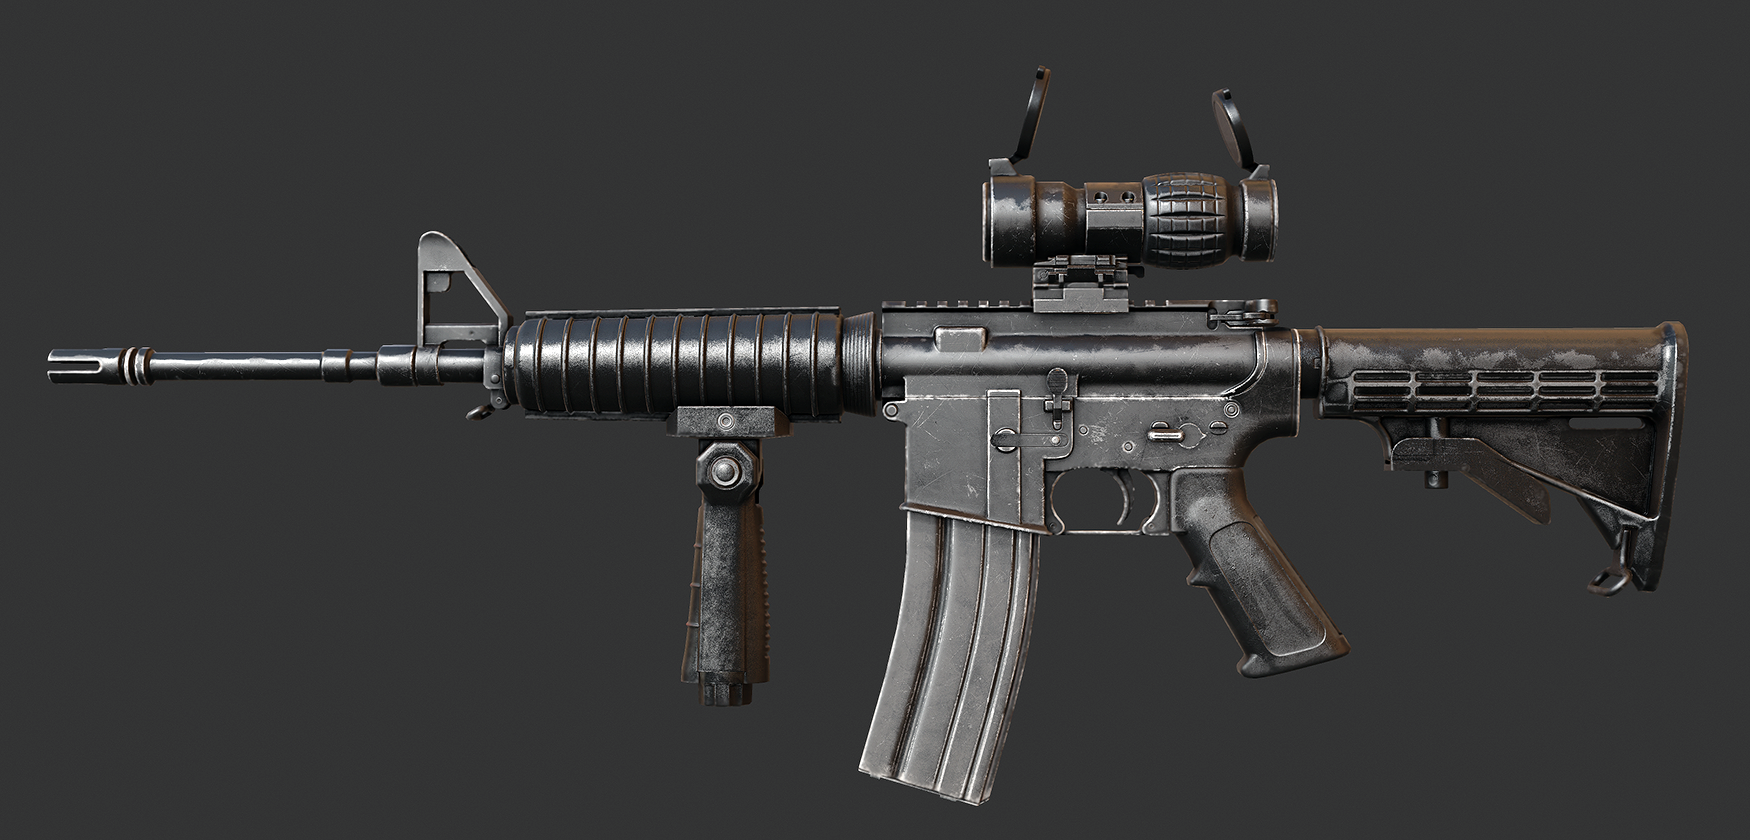
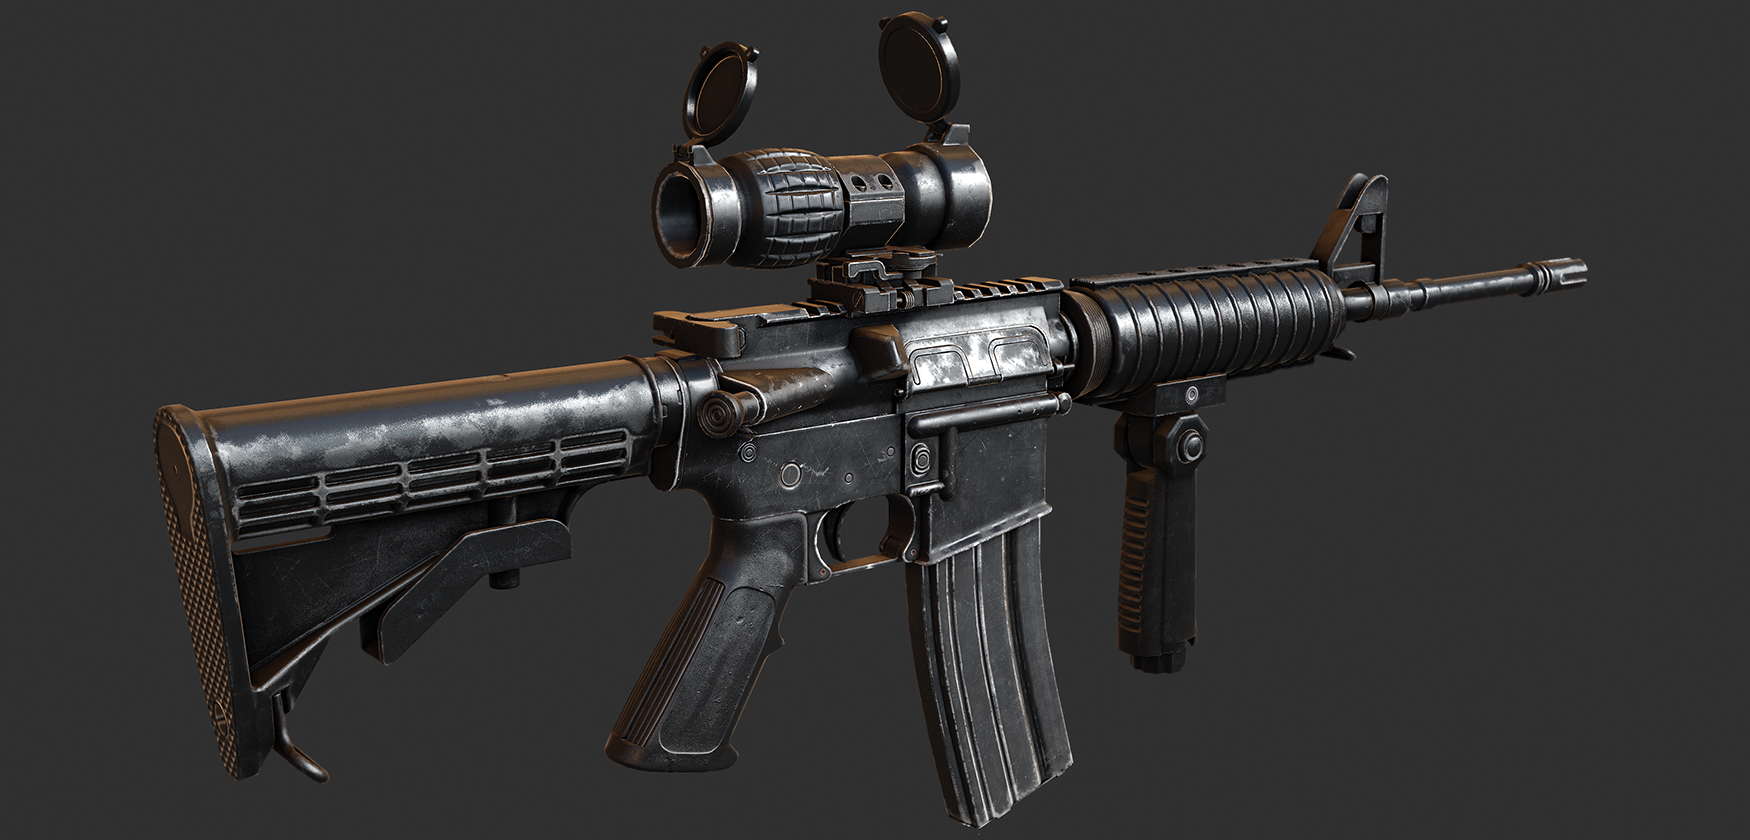 Assault Rifle
2016 / Modelling, Texturing
 The Haunted: Hell's Reach
2011 / Level Design, Environment Art, Lighting, Post & VFX
 The Haunted: Hell's Reach
2011 / Level Design, Environment Art, Lighting, Post & VFX
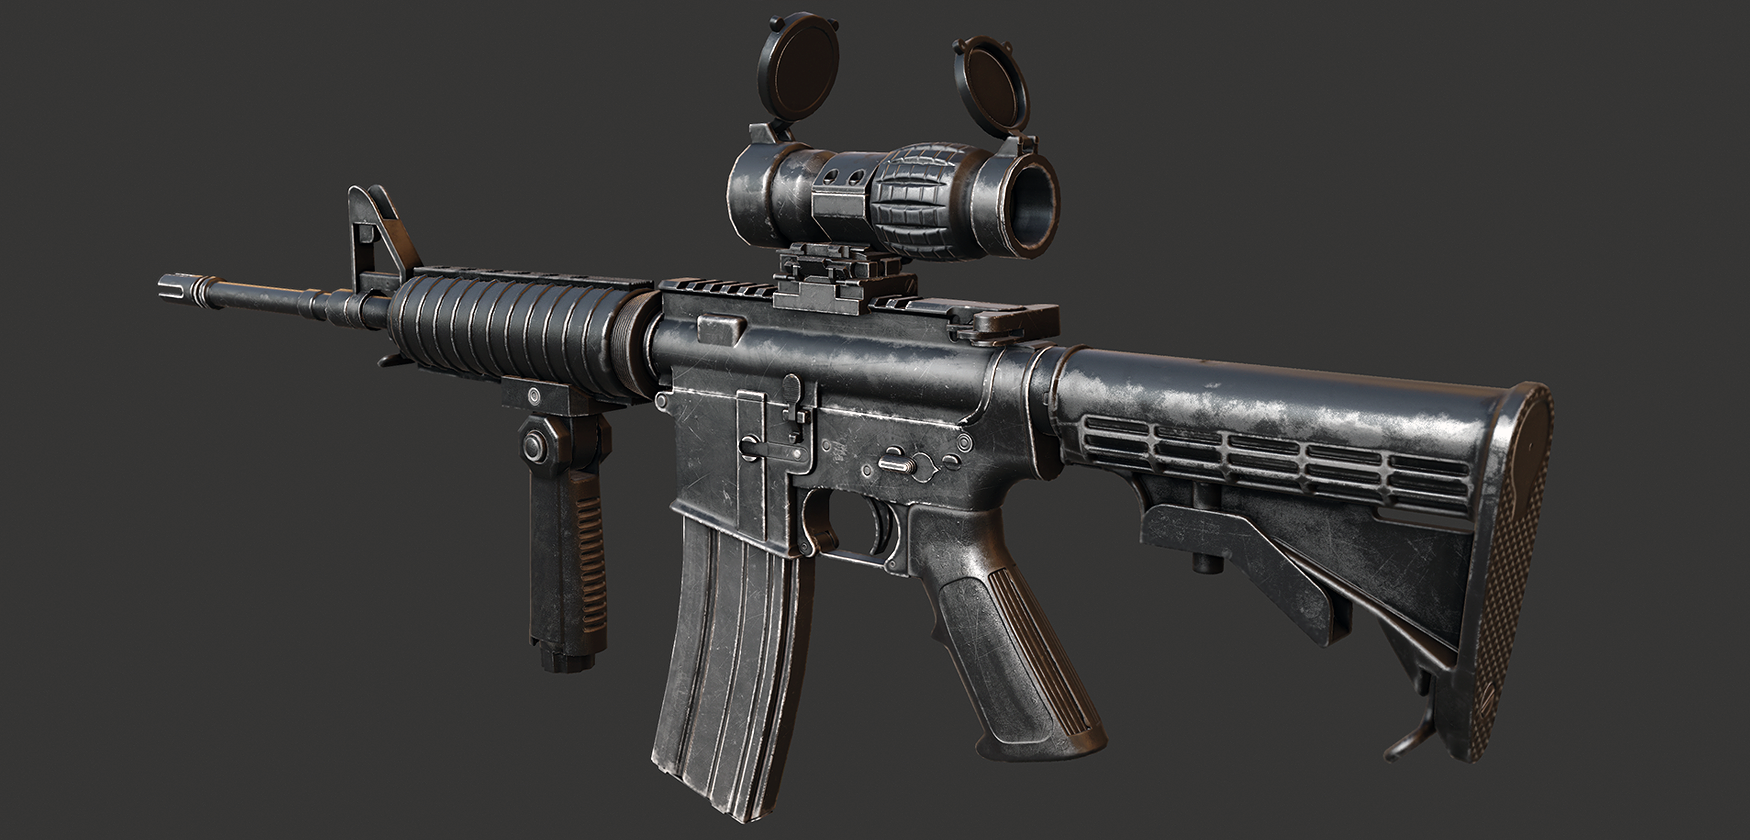
 Assault Rifle
2016 / Modelling, Texturing
 The Haunted: Hell's Reach
2011 / Level Design, Environment Art, Lighting, Post & VFX
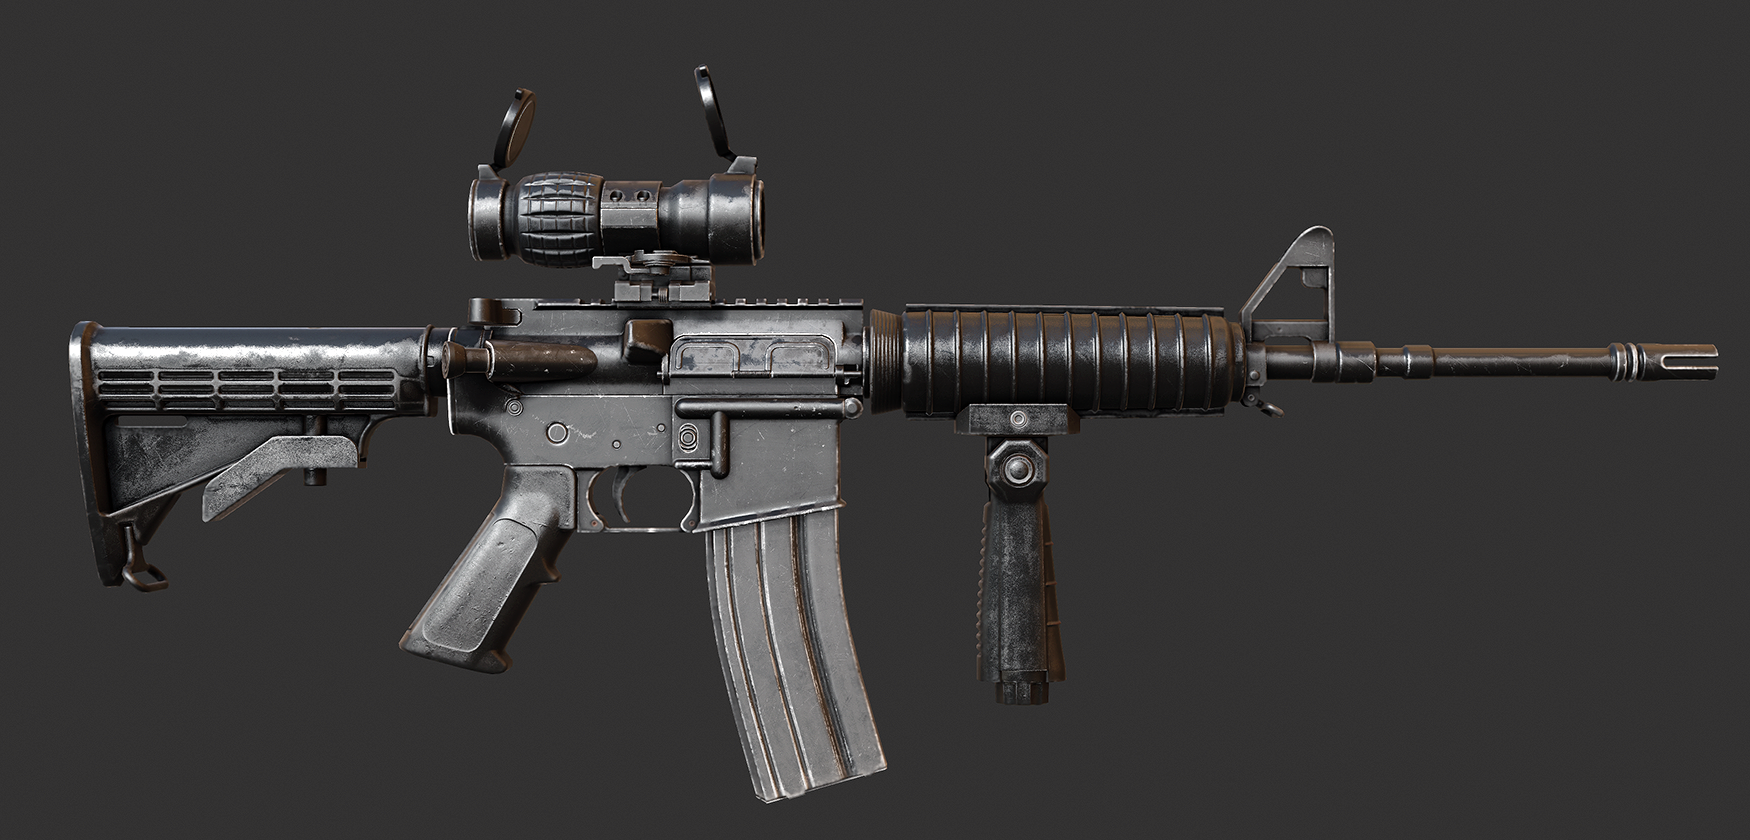
 Assault Rifle
2016 / Modelling, Texturing
 Medieval Knight
2013 / Concept, Modelling, Texturing, Animation
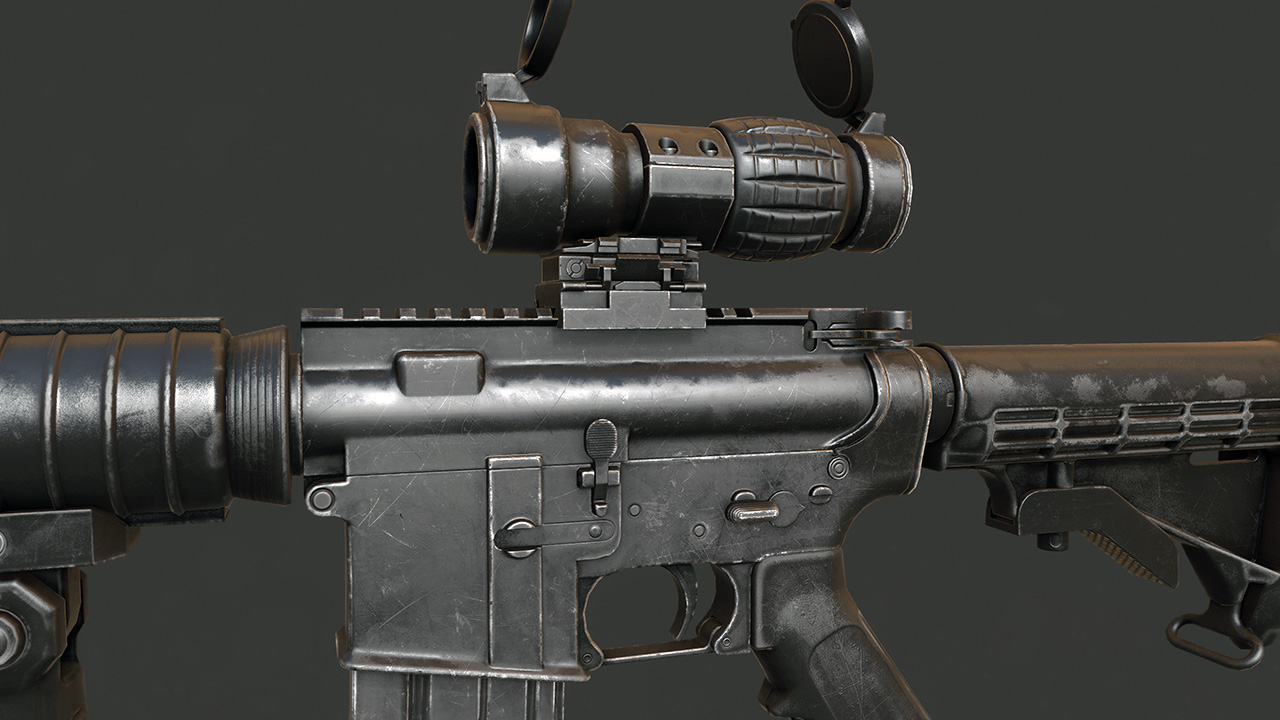
 Assault Rifle
2016 / Modelling, Texturing
 Assault Rifle
2016 / Modelling, Texturing
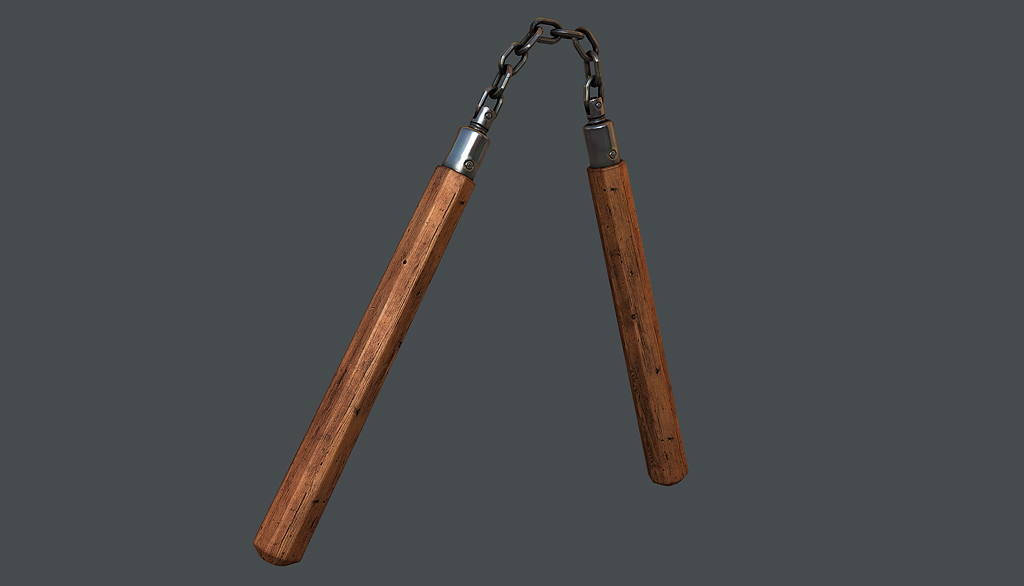 Nunchucks
2014 / Modelling, Texturing
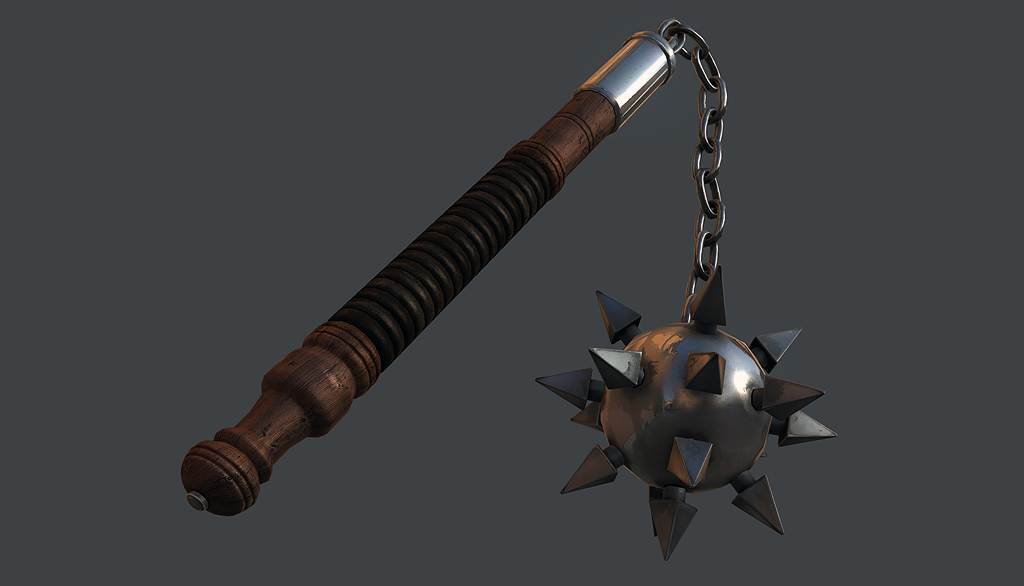 Flail
2014 / Modelling, Texturing
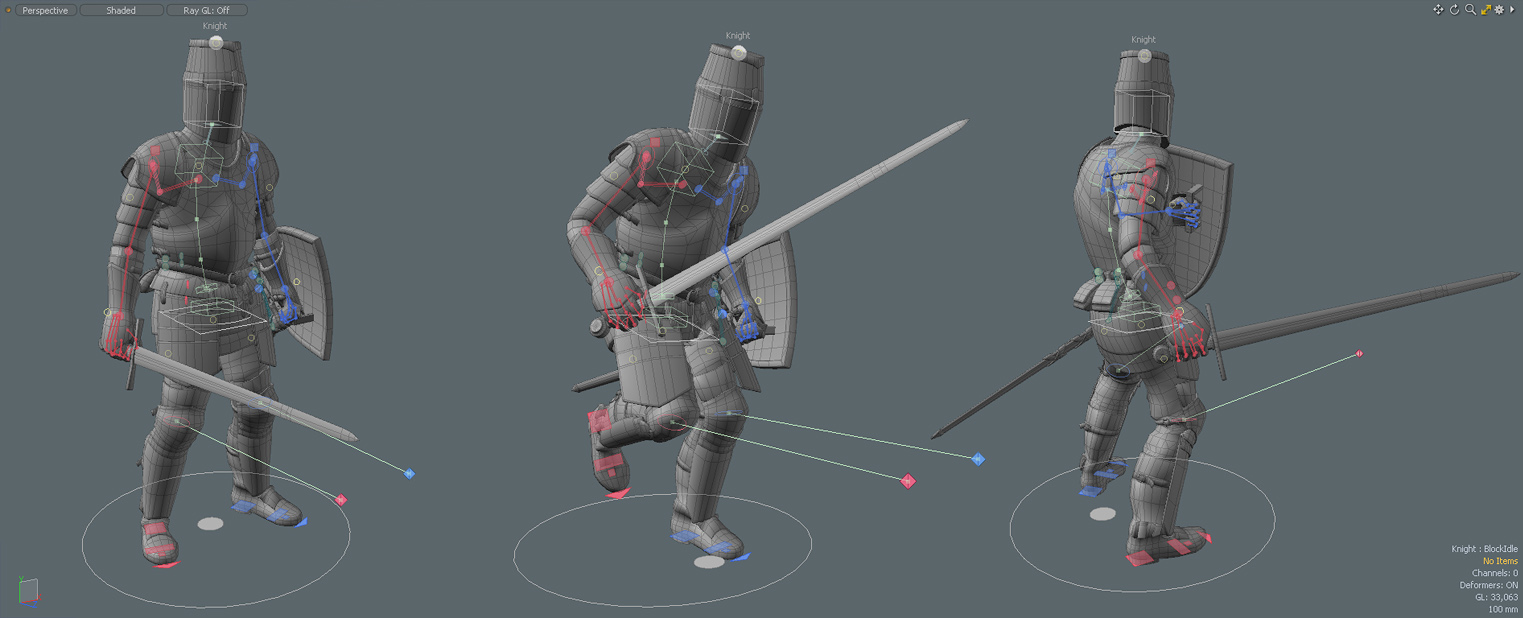 Medieval Knight
2013 / Concept, Modelling, Texturing, Animation
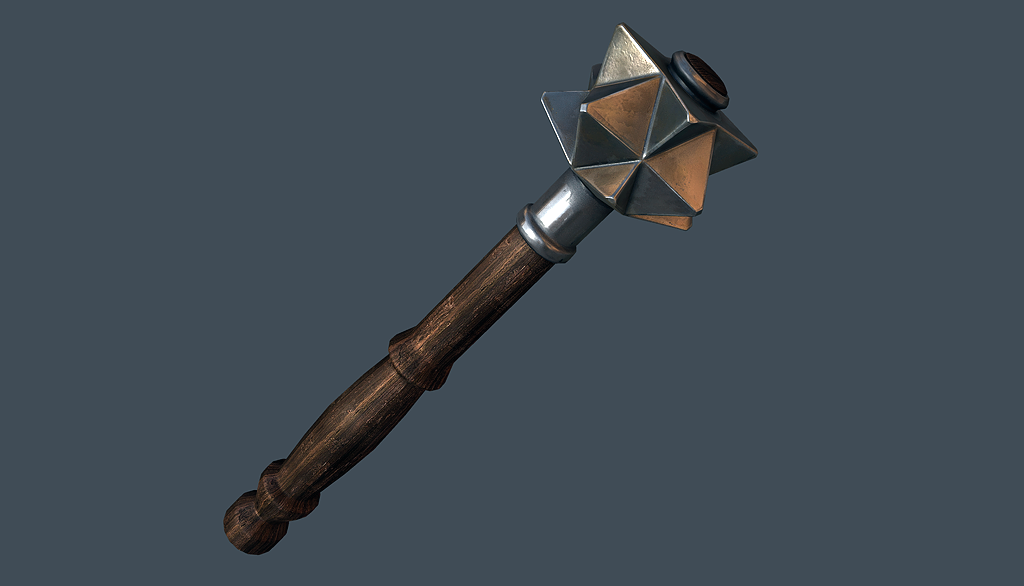 Mace
2014 / Modelling, Texturing
 Grenade Launcher
2014 / Modelling, Texturing
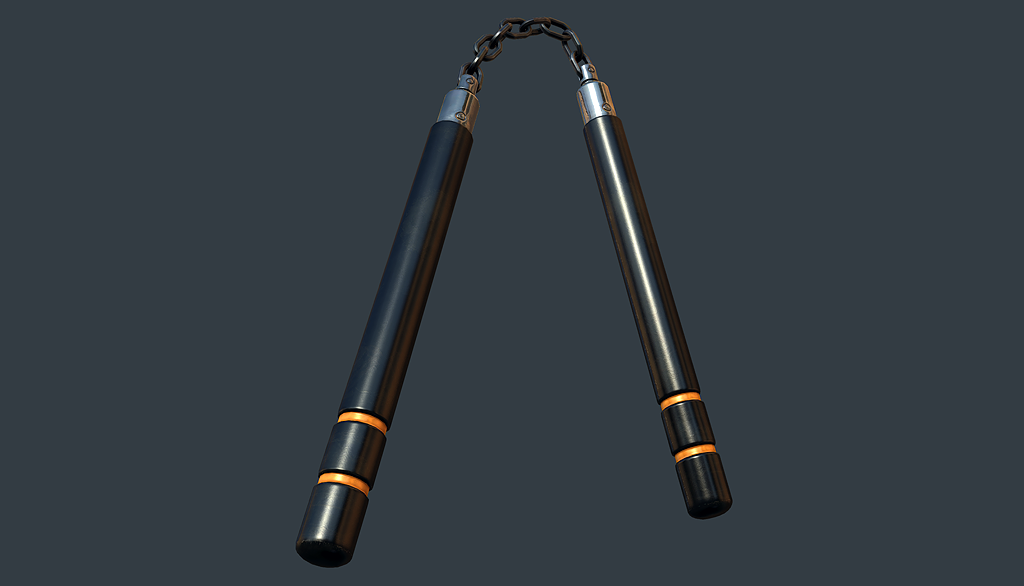 Nunchaku
2014 / Modelling, Texturing
 Behemoth
2014 / Prototype, Unreal Engine
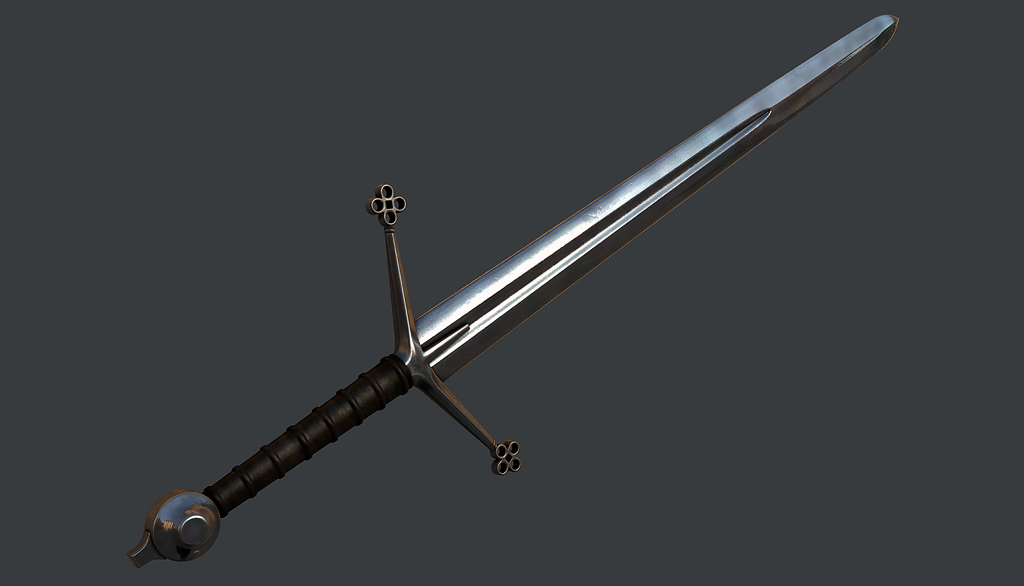 Claymore
2014 / Modelling, Texturing
 Roll Animation
2018 / Prototype, Unreal Engine
 Duel
2018 / Prototype, Unreal Engine
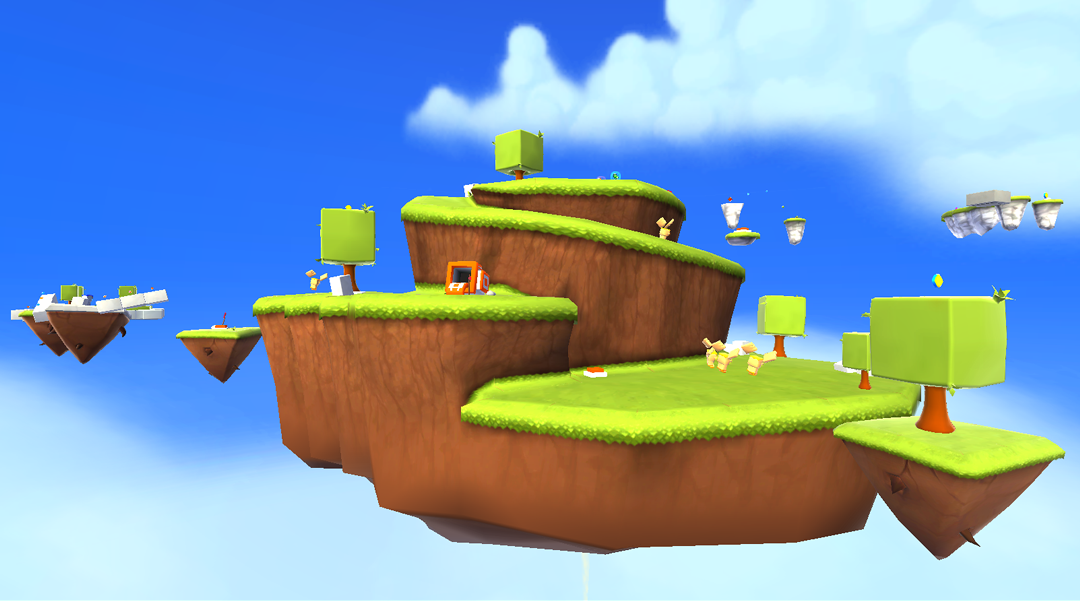
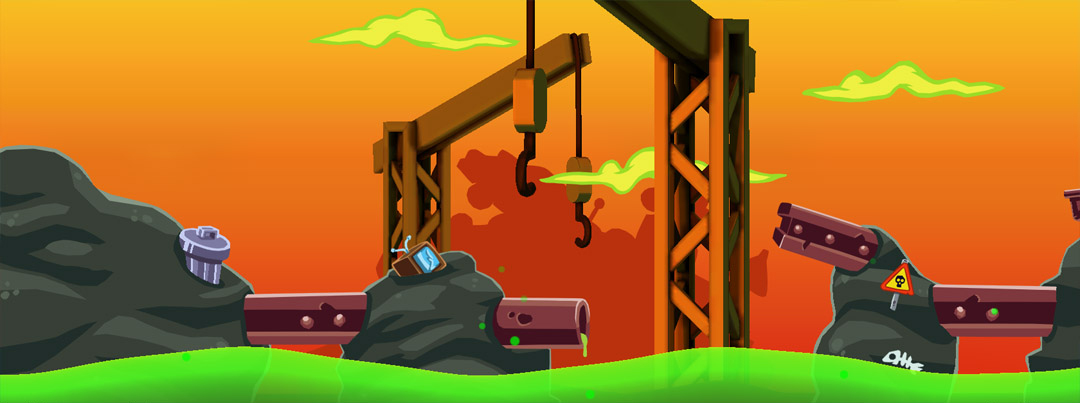
 MilMo
2009 / Level Design, Environment Art, Lighting, Scripting
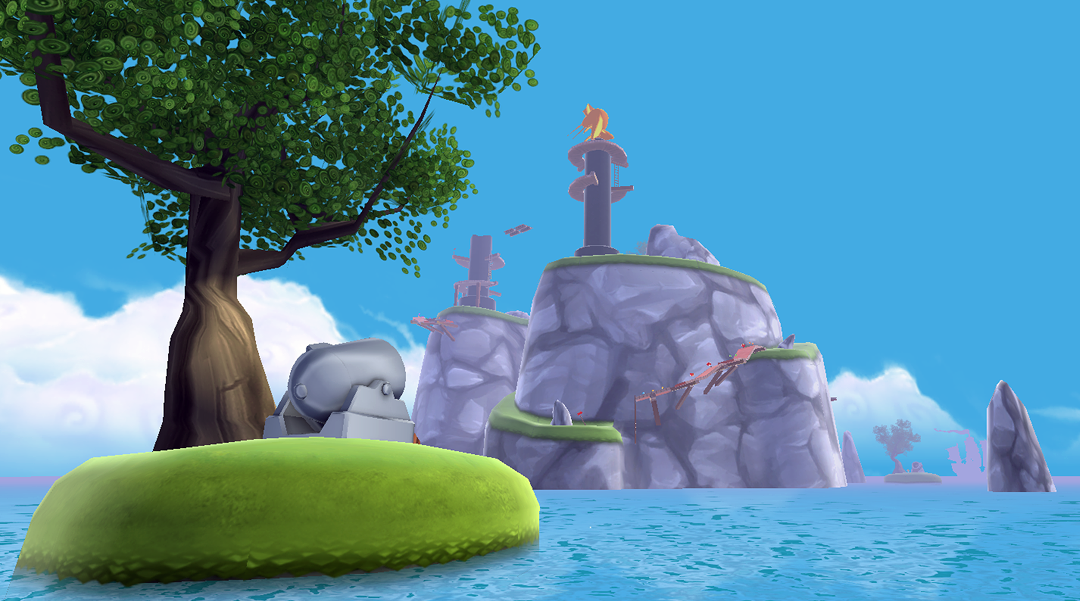
 MilMo
2009 / Level Design, Environment Art, Lighting, Scripting
 MilMo
2009 / Level Design, Environment Art, Lighting, Scripting
 Stridsvagn
2015 / Prototype, Unreal Engine
 MilMo
2009 / Level Design, Environment Art, Lighting, Scripting
 MilMo
2009 / Level Design, Environment Art, Lighting, Scripting
 MilMo
2009 / Level Design, Environment Art, Lighting, Scripting
 Tuff Tanks
2011 / Game Design, Level Design
 MilMo
2009 / Level Design, Environment Art, Lighting, Scripting
 MilMo
2009 / Level Design, Environment Art, Lighting, Scripting
 Tuff Tanks
2011 / Game Design, Level Design
|
EXPERIENCE
• Currently: Designer at Playdead • Unannounced Project, 2025 – Lead Designer • Little Nightmares II, 2021 – Game Director |


